2015 HMCCQ Breakfast Rally

The 2015 Breakfast Run, organised by the HMCCQ (Historical Motor Cycle Club of Queensland), was set for Sunday 11th January 2015.  The evening before the run, I checked the Weather app on my phone and saw that a rainy day was forecast.

Oh dear!
Should I chicken out?
No!!!
Why did I purchase my wet weather gear all those years ago?

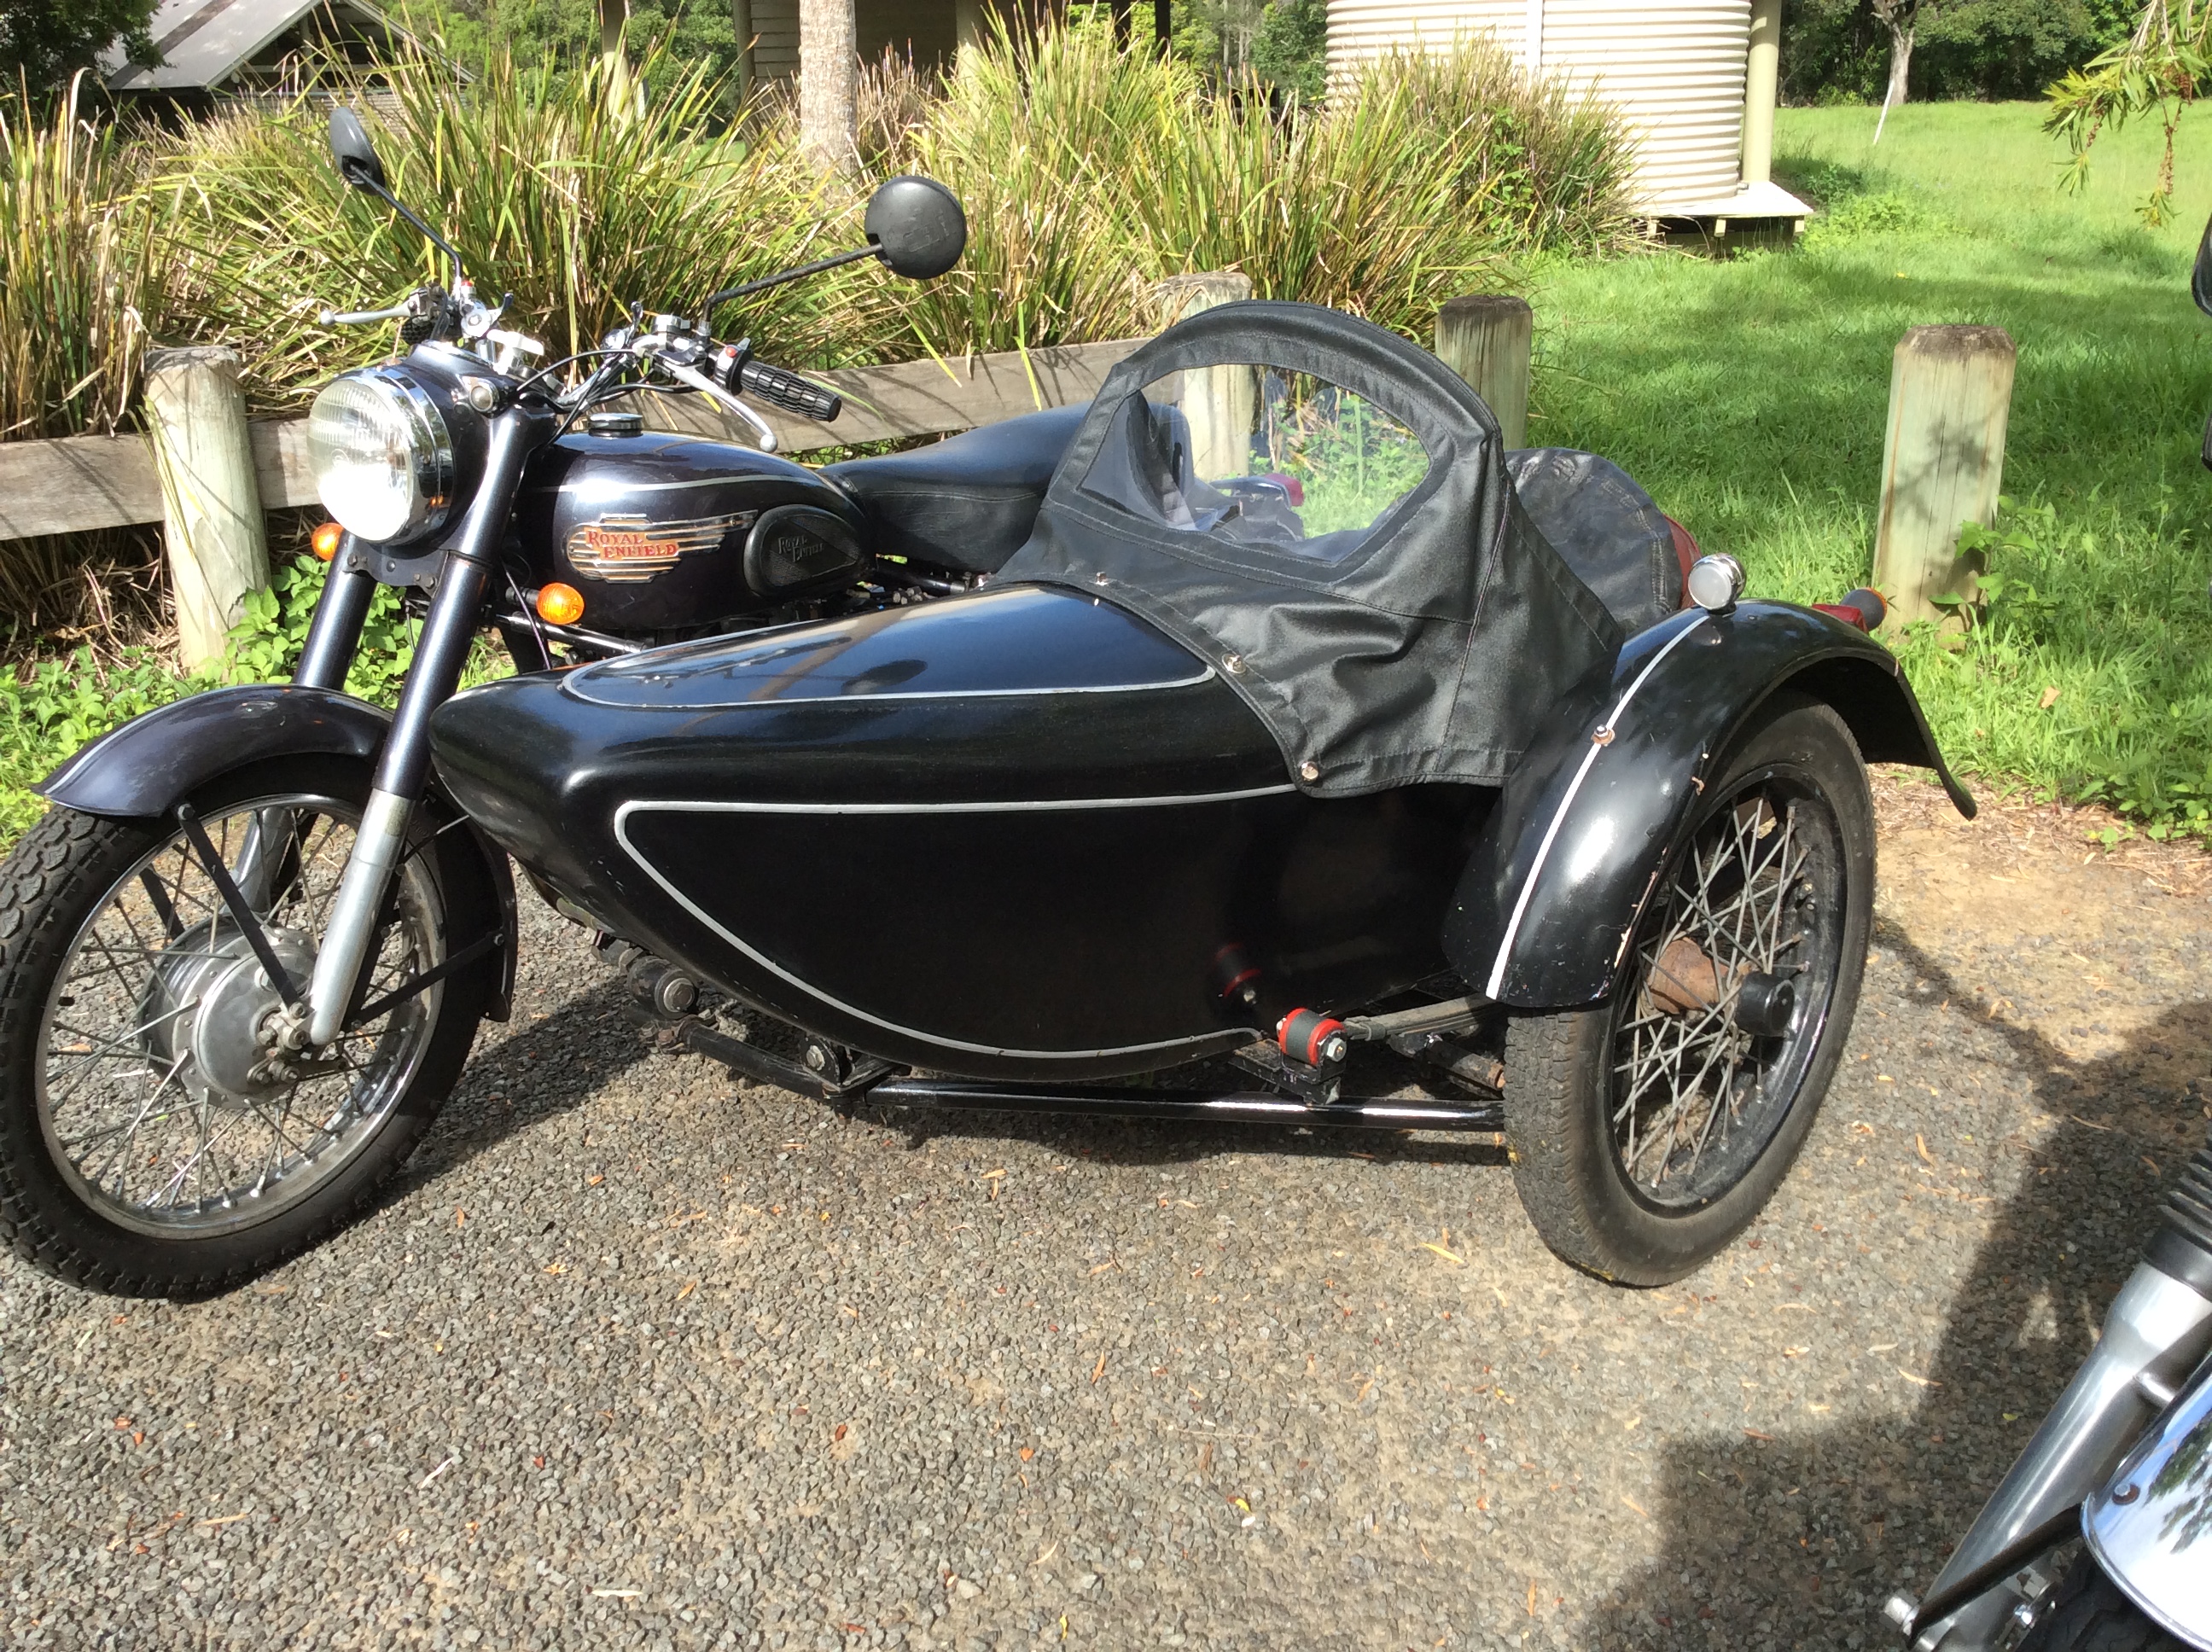
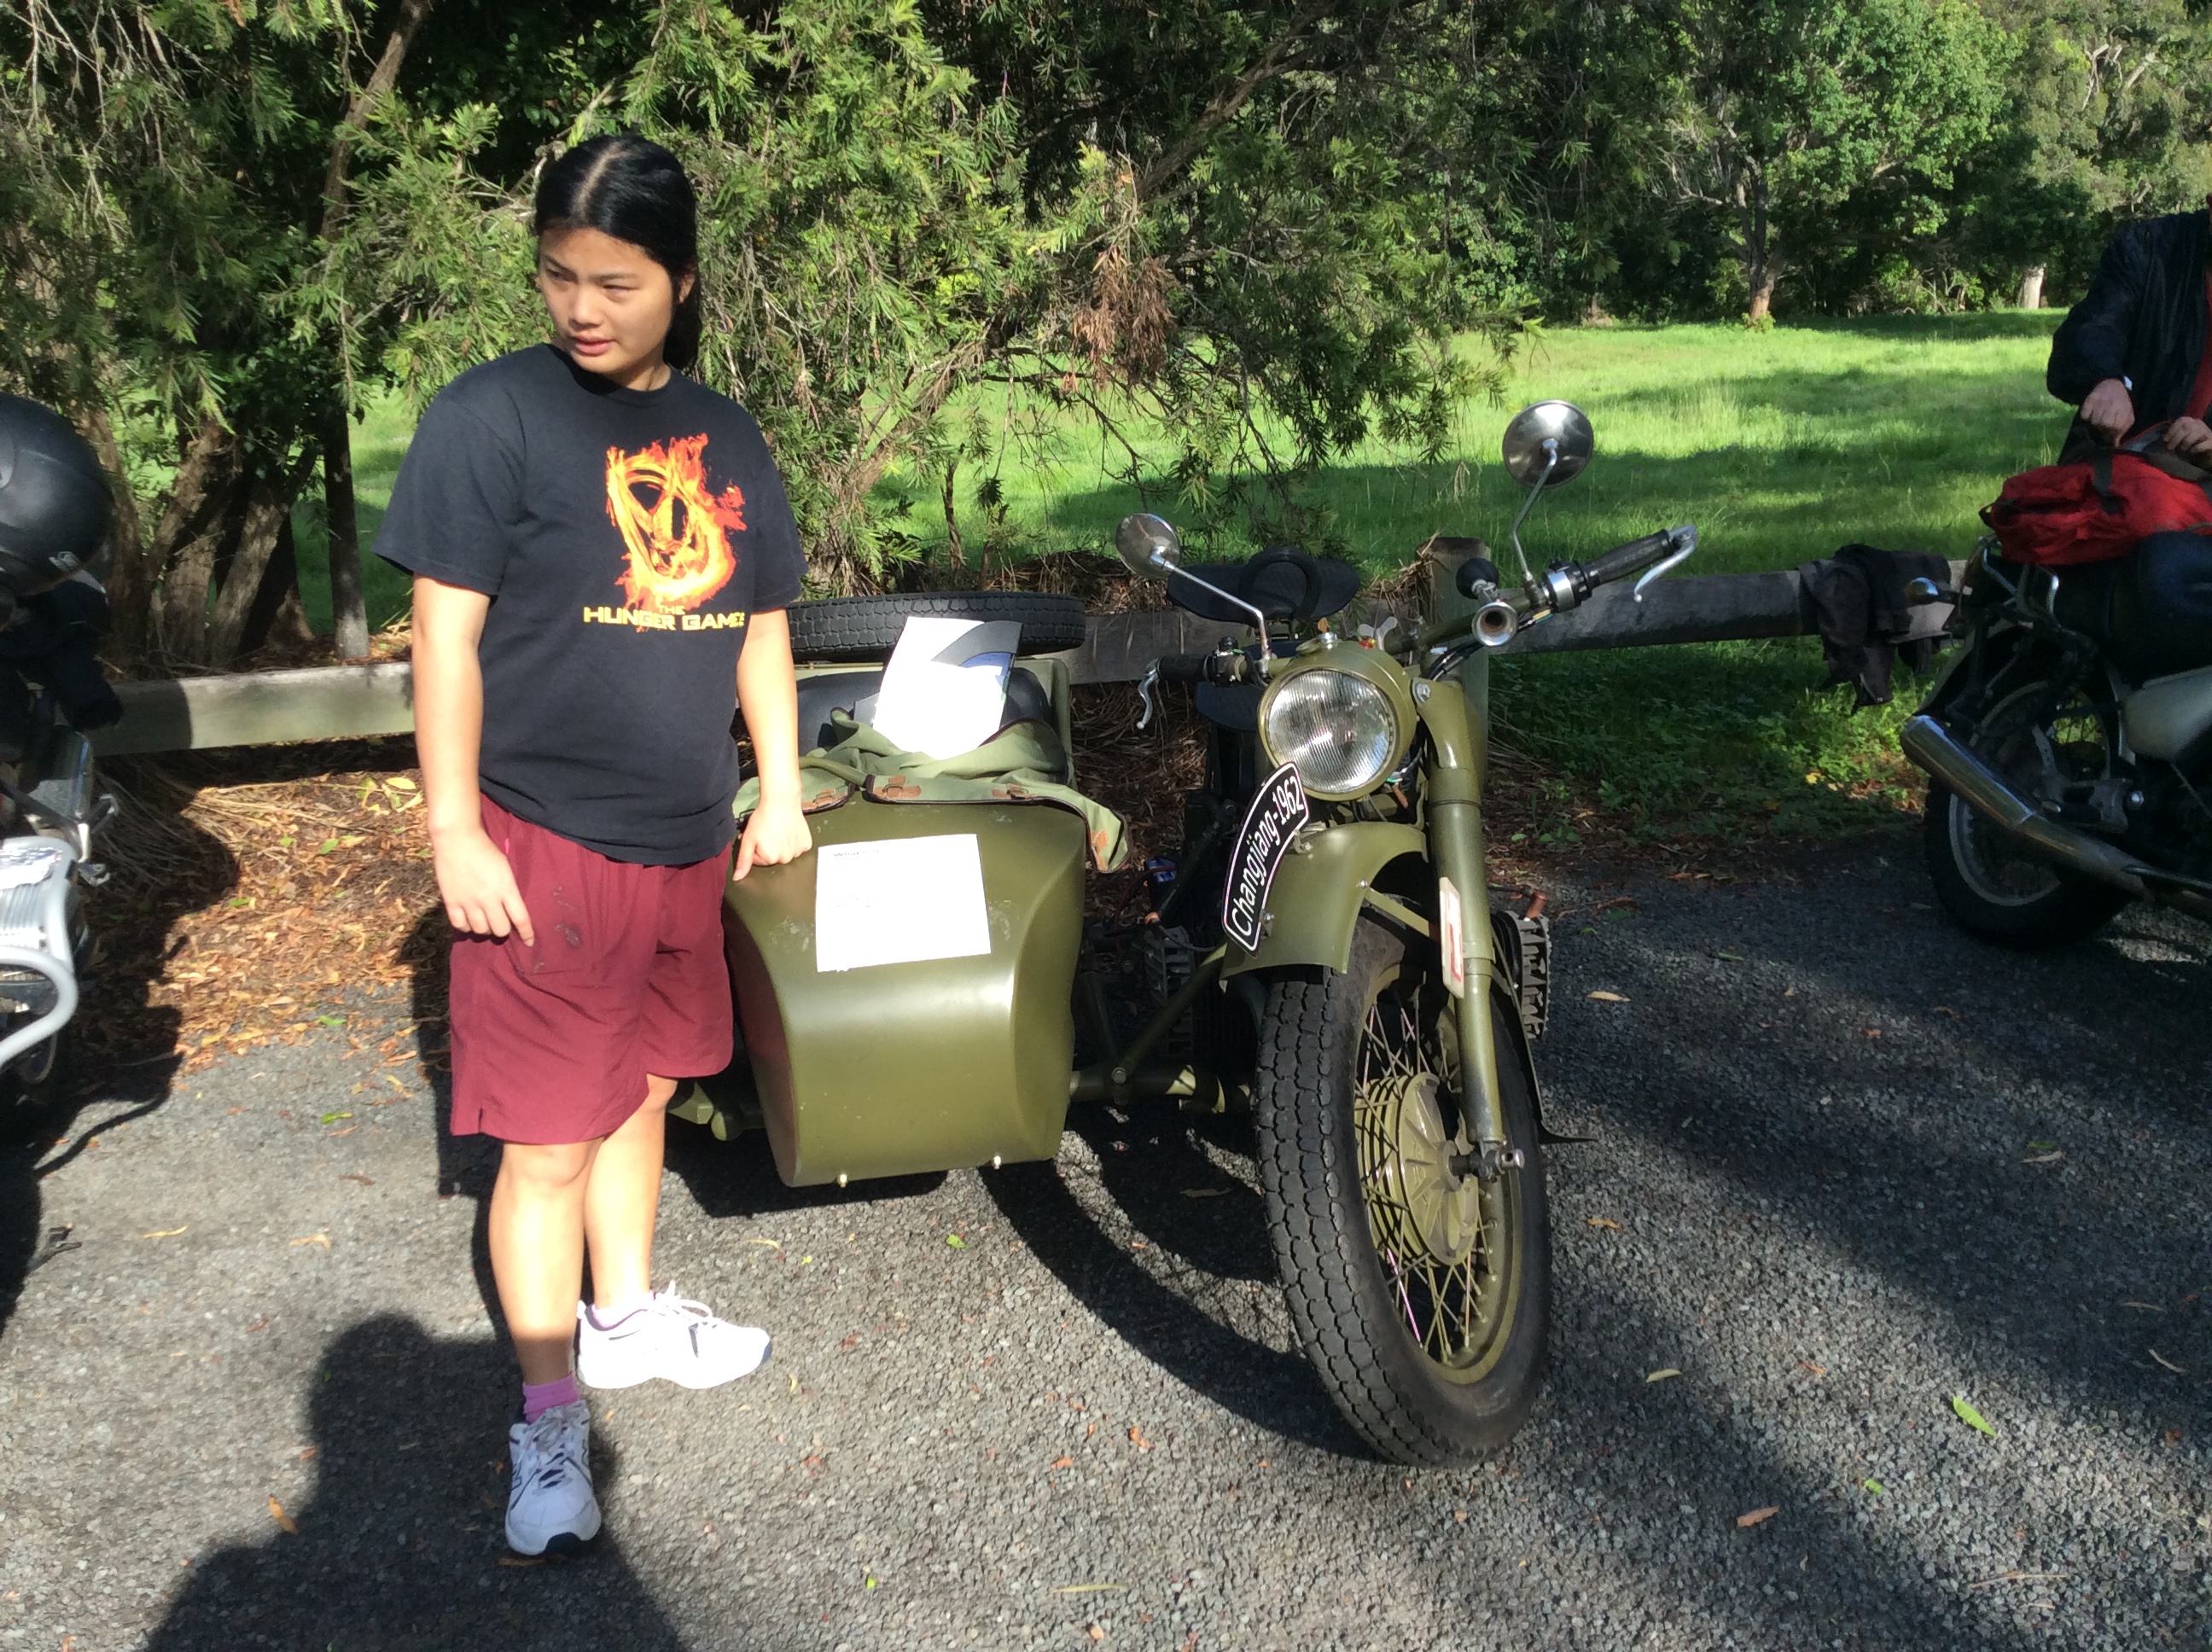
My daughter was scheduled to go with me in the sidecar.  Would she still come if it was raining?
The answer was a resounding “Yes!” Rosie loves going out with her Dad in the sidecar!

We left from our home in McDowall about 05:45 am in steady rain which caused the donning of full wet gear.  However, 350 metres from home, we ran out of the rain and had a dry run for the rest of the trip.
We joined Samford Road via English street and proceeded to Samford where we topped up with petrol.
From Samford we climbed the Mount Glorious Road, having to select first gear on the steepest bits. We also pulled over a few times to let other cars and motorbikes pass us slow-pokes by.

We arrived at the Rally site at the Red Cedar Picnic Ground (29.5 km short of Fernvale) at about 07:15 where there were about another 20 or 30 bikes ahead of us.

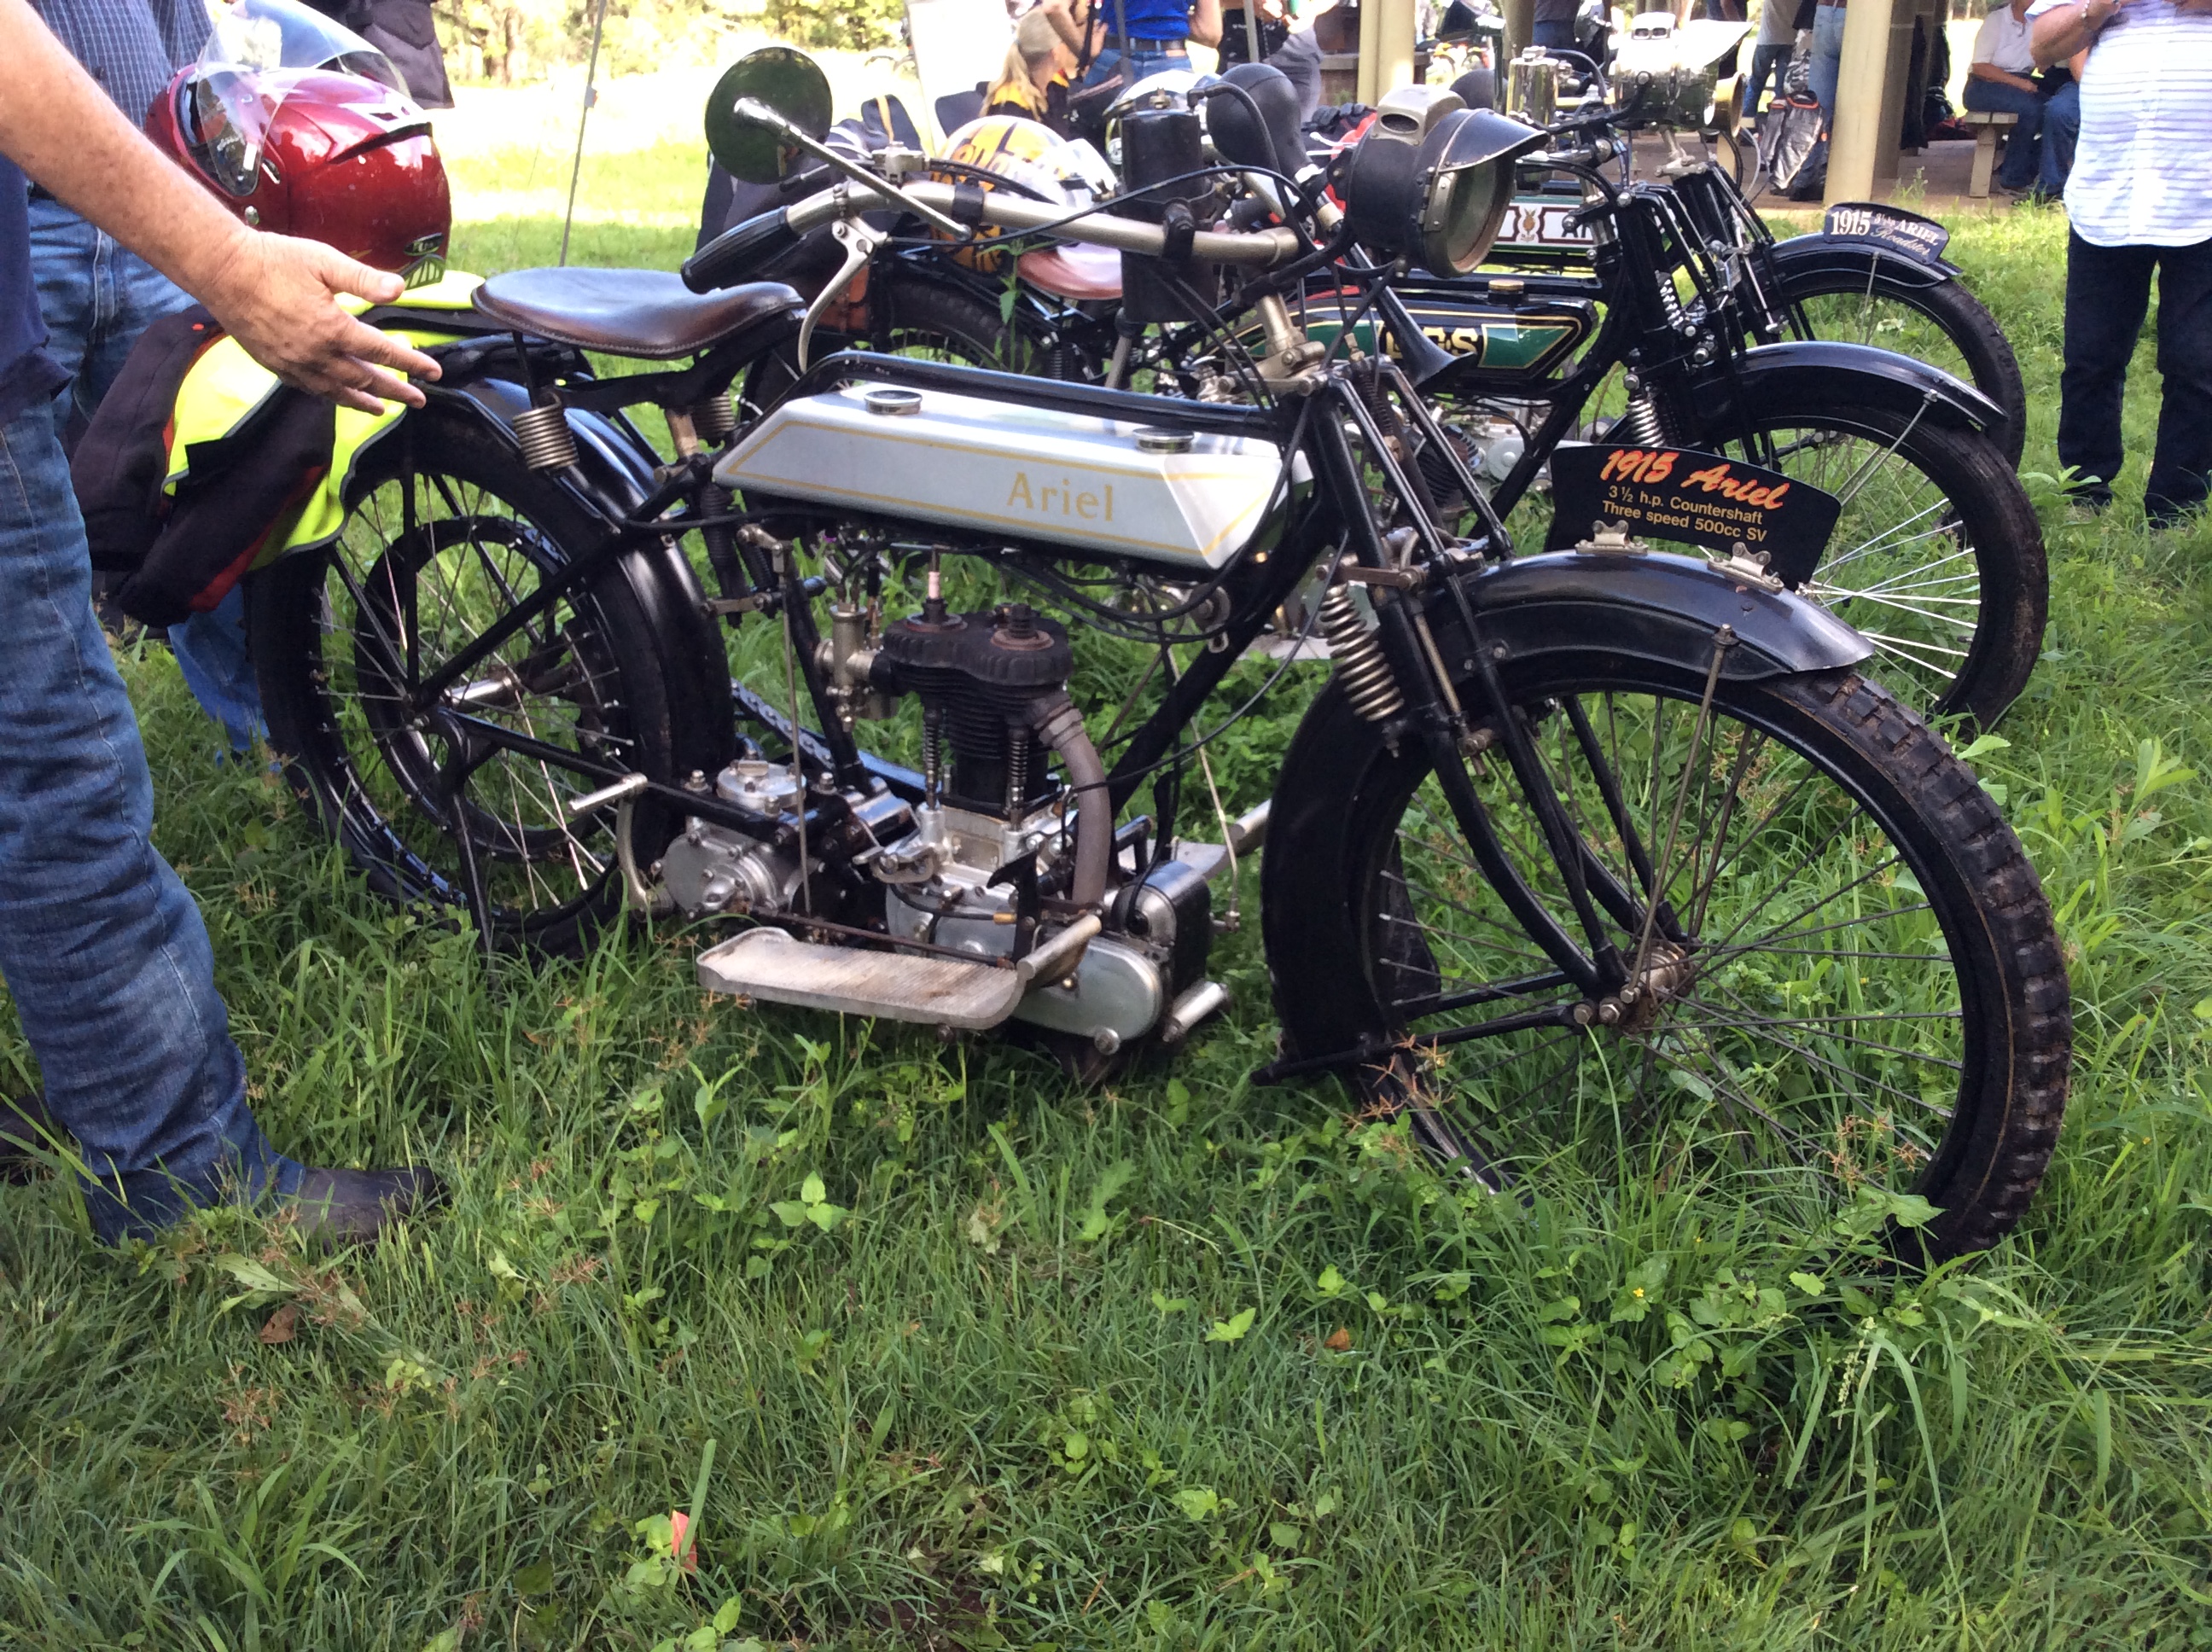
Just while we were consuming our breakfast, more than 100 other historic bikes rode in.   Barry Deeth’s 100-years-old 1915 Ariel that was ridden in while we were breakfasting, had recently returned from a trip where it was ridden from Adelaide to Darwin – not a bad run for a then 99-years-old bike, I reckon!

By the time we left at about 08:50 I estimated there were over 200 historic bikes present – maybe up to 300. I will find out at the next club meeting.

From Red Cedar Park we rode to Fernvale where it was necessary to consume the obligatory pies.  The Bakery has a reputation for making the “best pies in Australia” and I reckon that reputation is well-earned. We observed many people taking phone-photos of our outfit while we were at the Bakery.

From Fernvale we headed towards Ipswich along Brisbane Valley Highway as far as Pine Mountain Road where we turned left.  With a cruising speed of about 70 km/h, we like to avoid freeways as far as possible. However, some freeway riding was unavoidable: where Fotheringham Road petered out we rode on the M2 motorway until the Mount Crosby Road exit.  From there we continued along Mount Crosby and Moggill roads, stopping at Kenmore Shopping Centre to cool off the bike and to cool off us by walking around in the air-conditioned shopping centre.

Avoiding the M5 Western Freeway (which was closed for roadworks anyway), we filtered through through the suburbs re-joining Route 5 at the Toowong Cemetery and following Route 5 and South Pine and Old Northern Roads to our home in McDowall where we finished our ride at about 12:35.

Our average fuel consumption for the trip was 9.935 litres/100km (just over 10 km for each litre) which is not bad for a 22 horsepower side-valve engine hauling well over half a tonne across the mountains and back again!

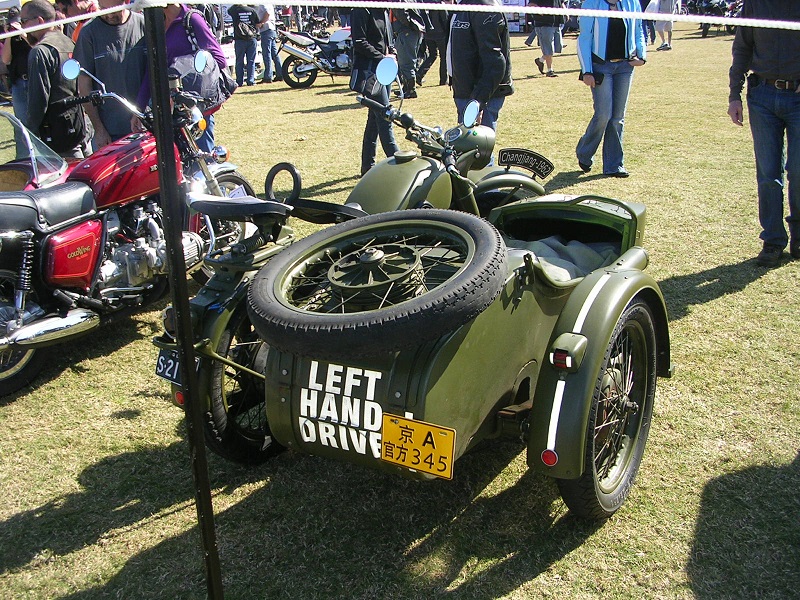
Now for a few photos we took at Red Cedar:

Barry Deeth's 100-years-old Ariel had recently returned from being ridden from Adelaide to Darwin.
Barry Deeth’s 100-years-old Ariel had recently returned from being ridden from Adelaide to Darwin.


A beautiful BMW R12 built about 80 years ago.


Another view of the R12.


This R51/3 BMW was built in 1954.


The owner alights from a Moto-Guzzi powered three-wheeler which looks a little like the old British Morgan, but is in fact a recently constructed home-made vehicle.


The Guzzi three-wheeler is for sale!


A rear-end view of the Guzzi three-wheeler - a most unusual machine!
A rear-end view of the Guzzi three-wheeler – a most unusual machine!


This 500cc Royal Enfield bike is fitted with a Dusting sidecar which is almost identical to the very first sidecar I owned back in 1968.


Here is another view of that Royal Enfield/Dusting outfit.


My daughter Rosie stands near my 1962 Chiang Jiang sidecar outfit.


Another view of Rosie and the CJ. Note that my sidecar is on the right hand side of the bike which means it is a "Left Hand Drive" vehicle.
Another view of Rosie and the CJ. Note that my sidecar is on the right hand side of the bike which means it is a “Left Hand Drive” vehicle.


I took this photo to illustrate the beautiful, clean, uncluttered lines of  this side-valve engine in an old Sunbeam motorbike.
I took this photo to illustrate the beautiful, clean, uncluttered lines of this side-valve engine in an old Sunbeam motorbike.

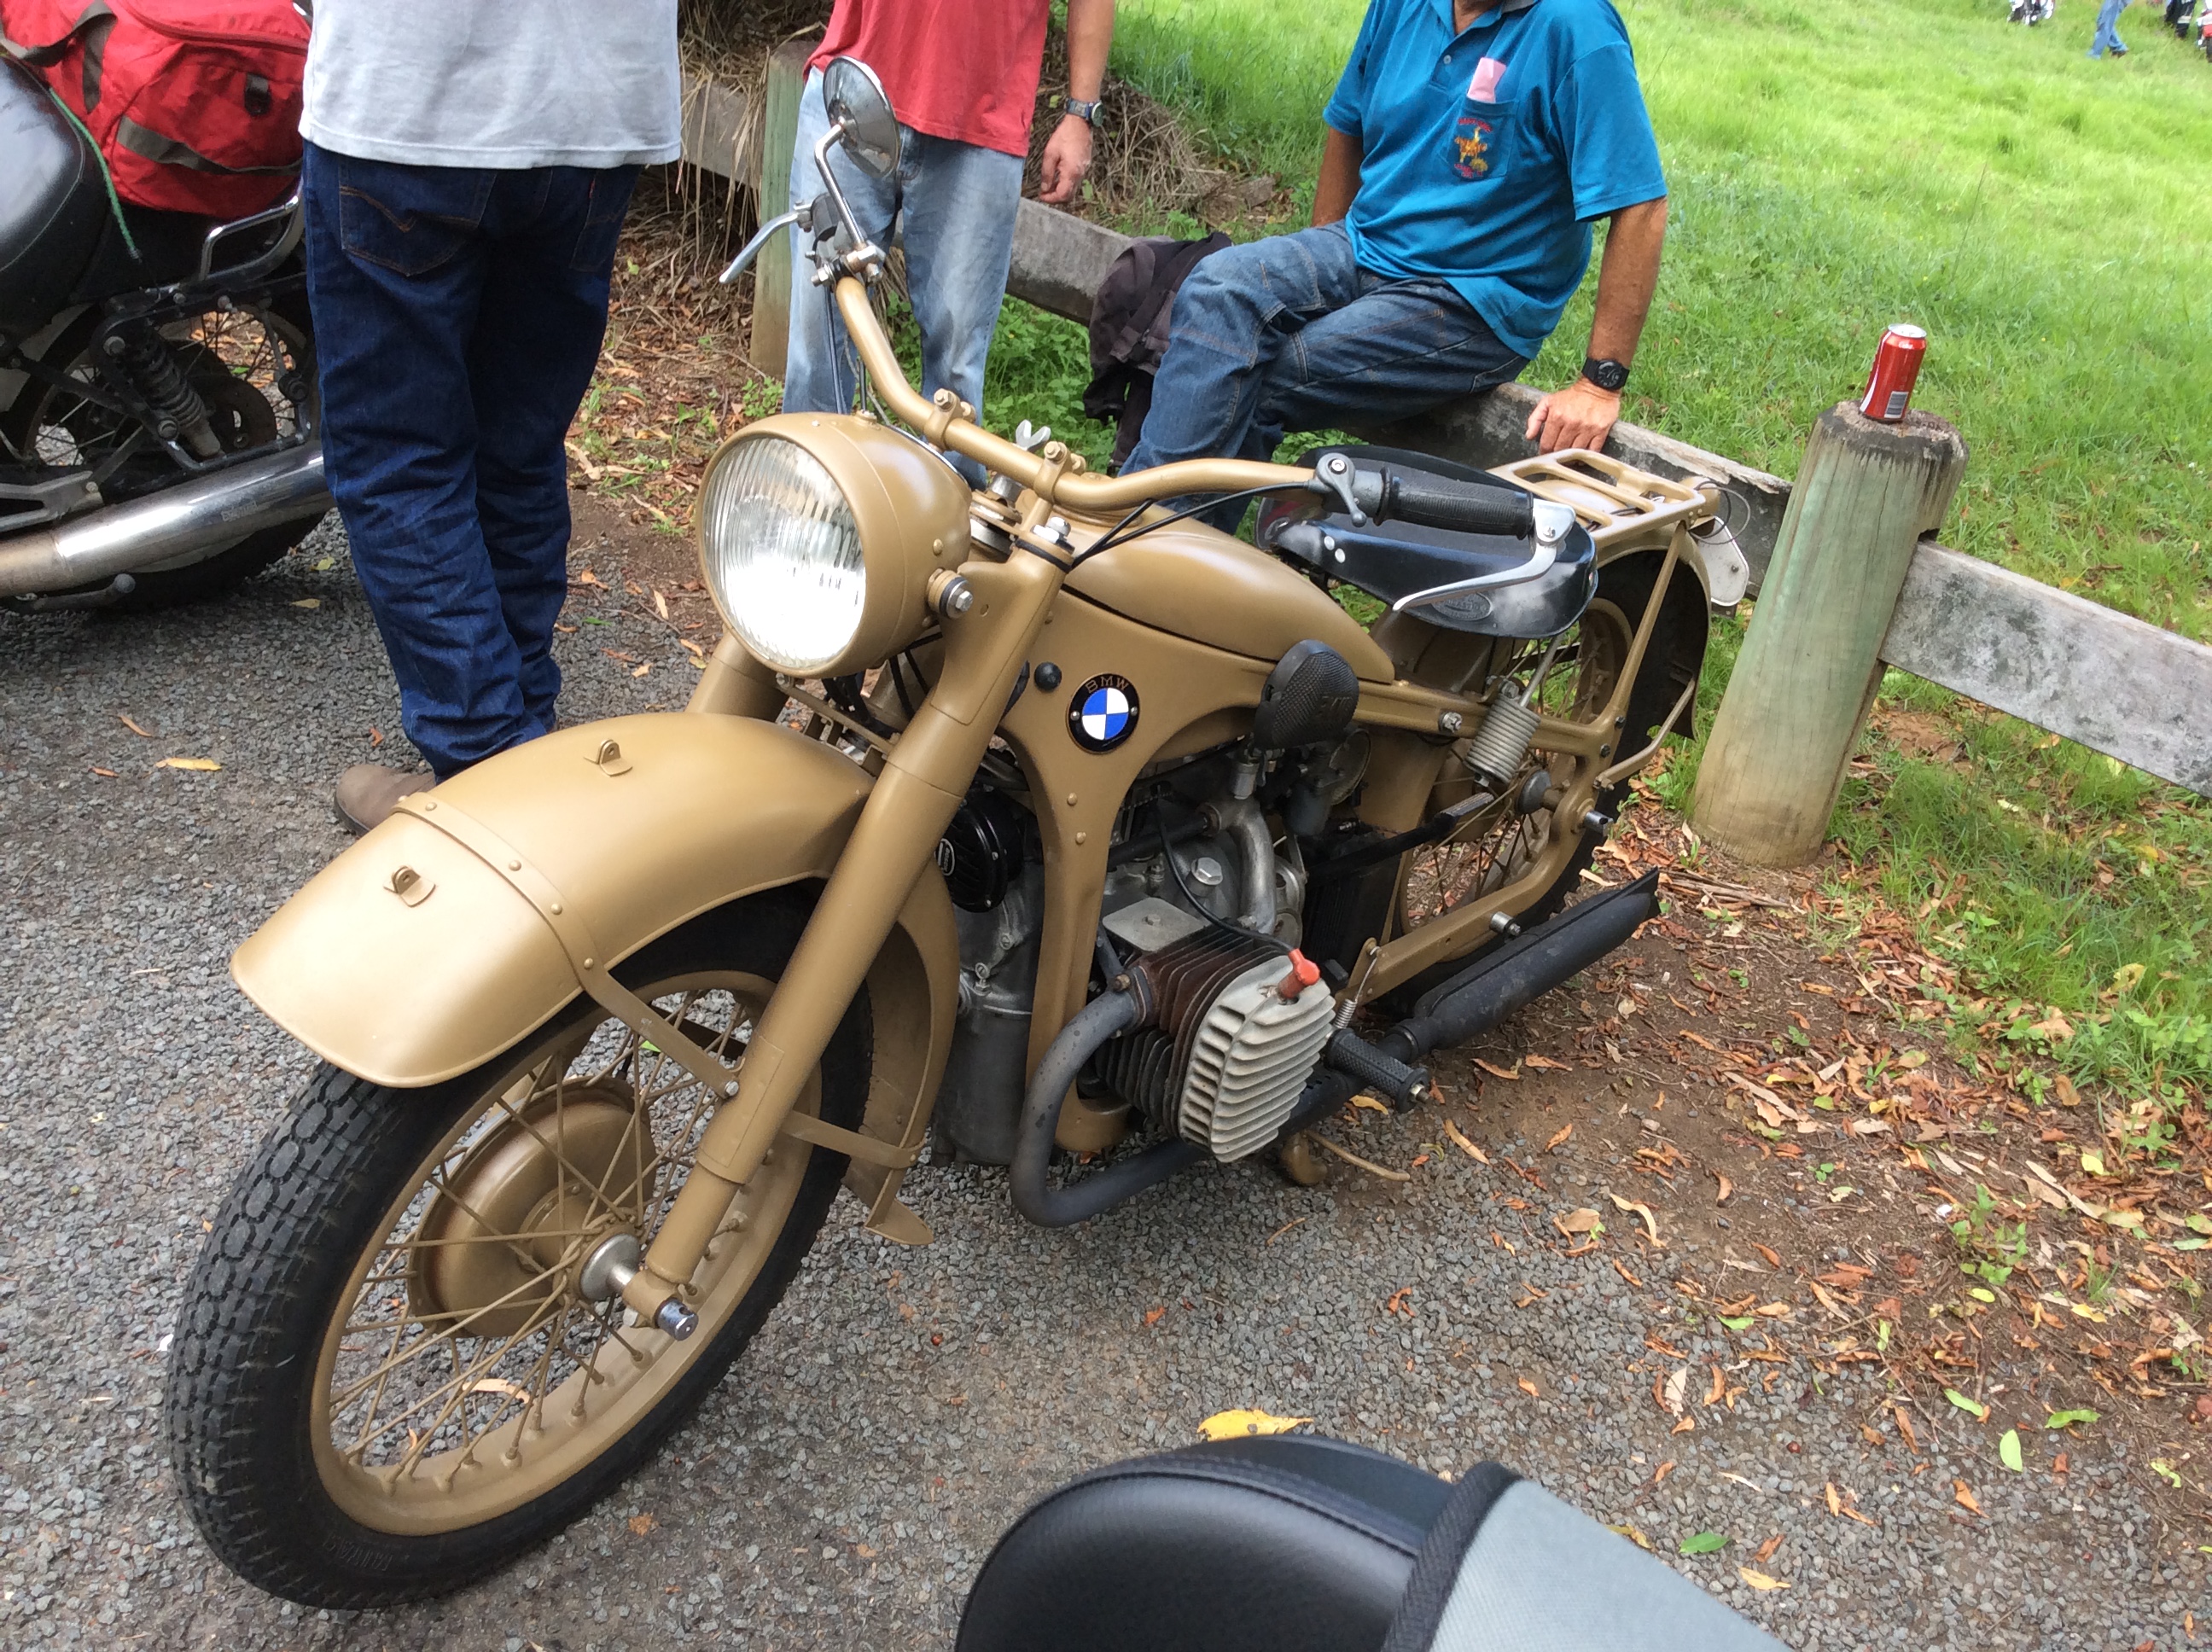
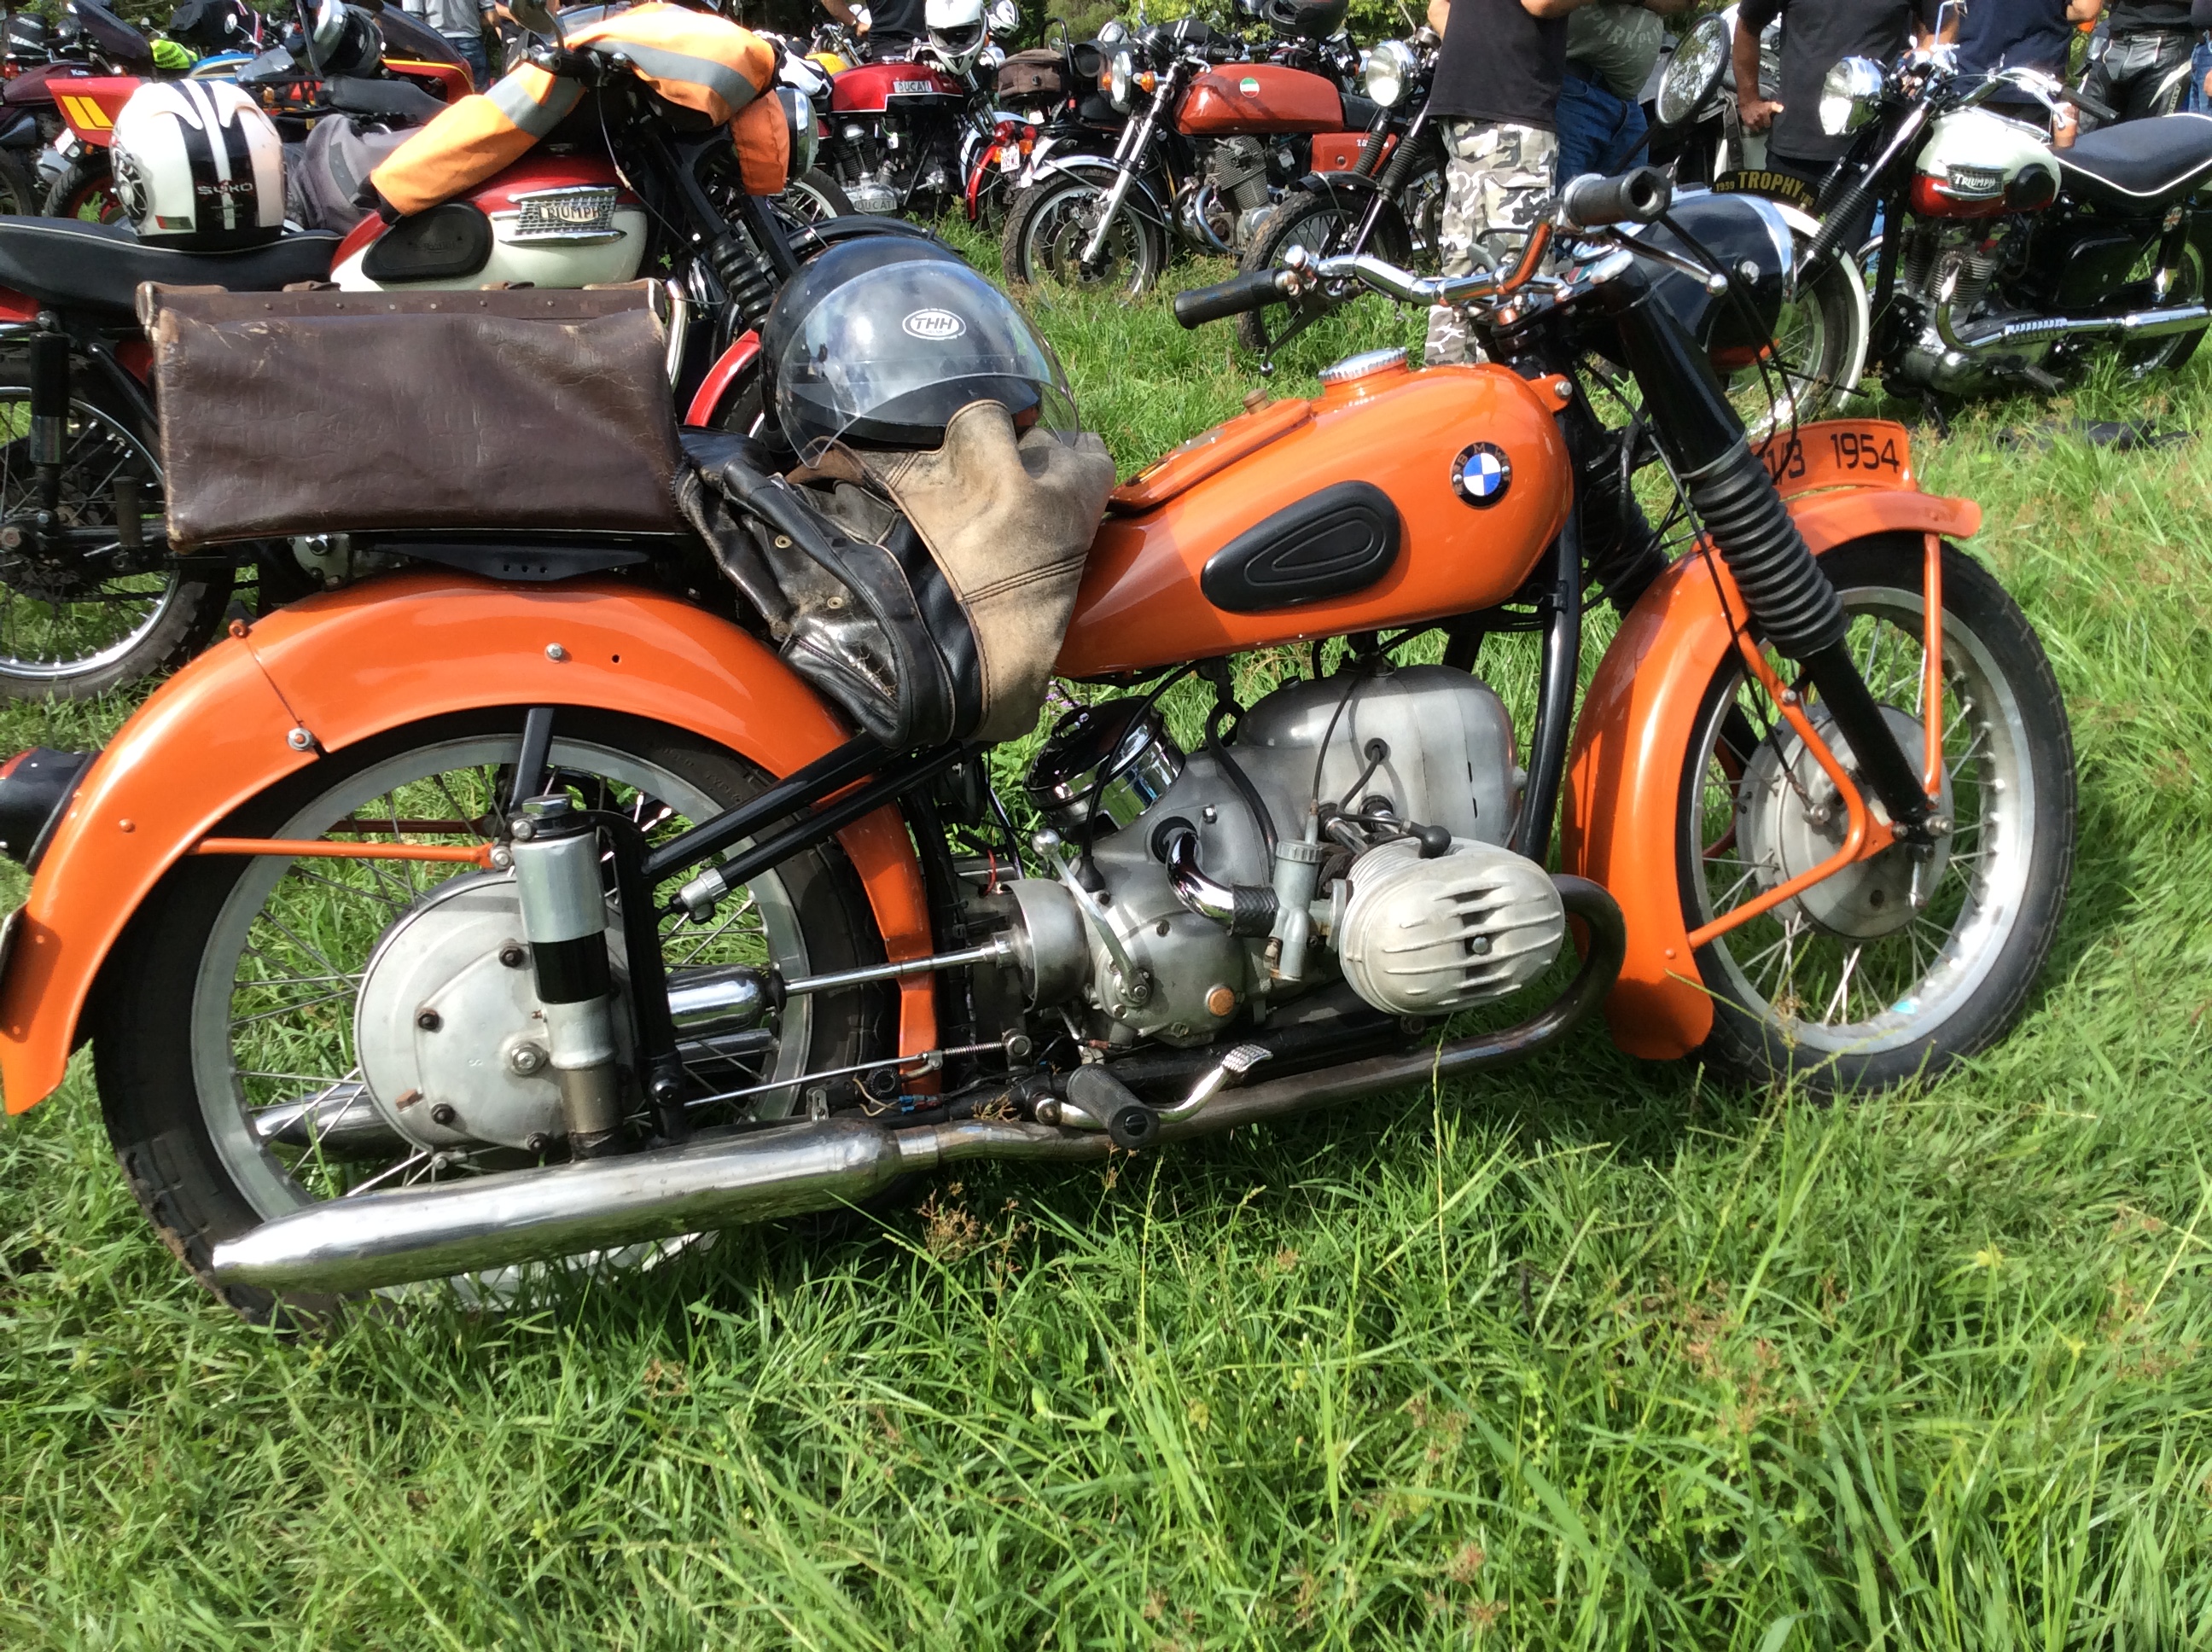
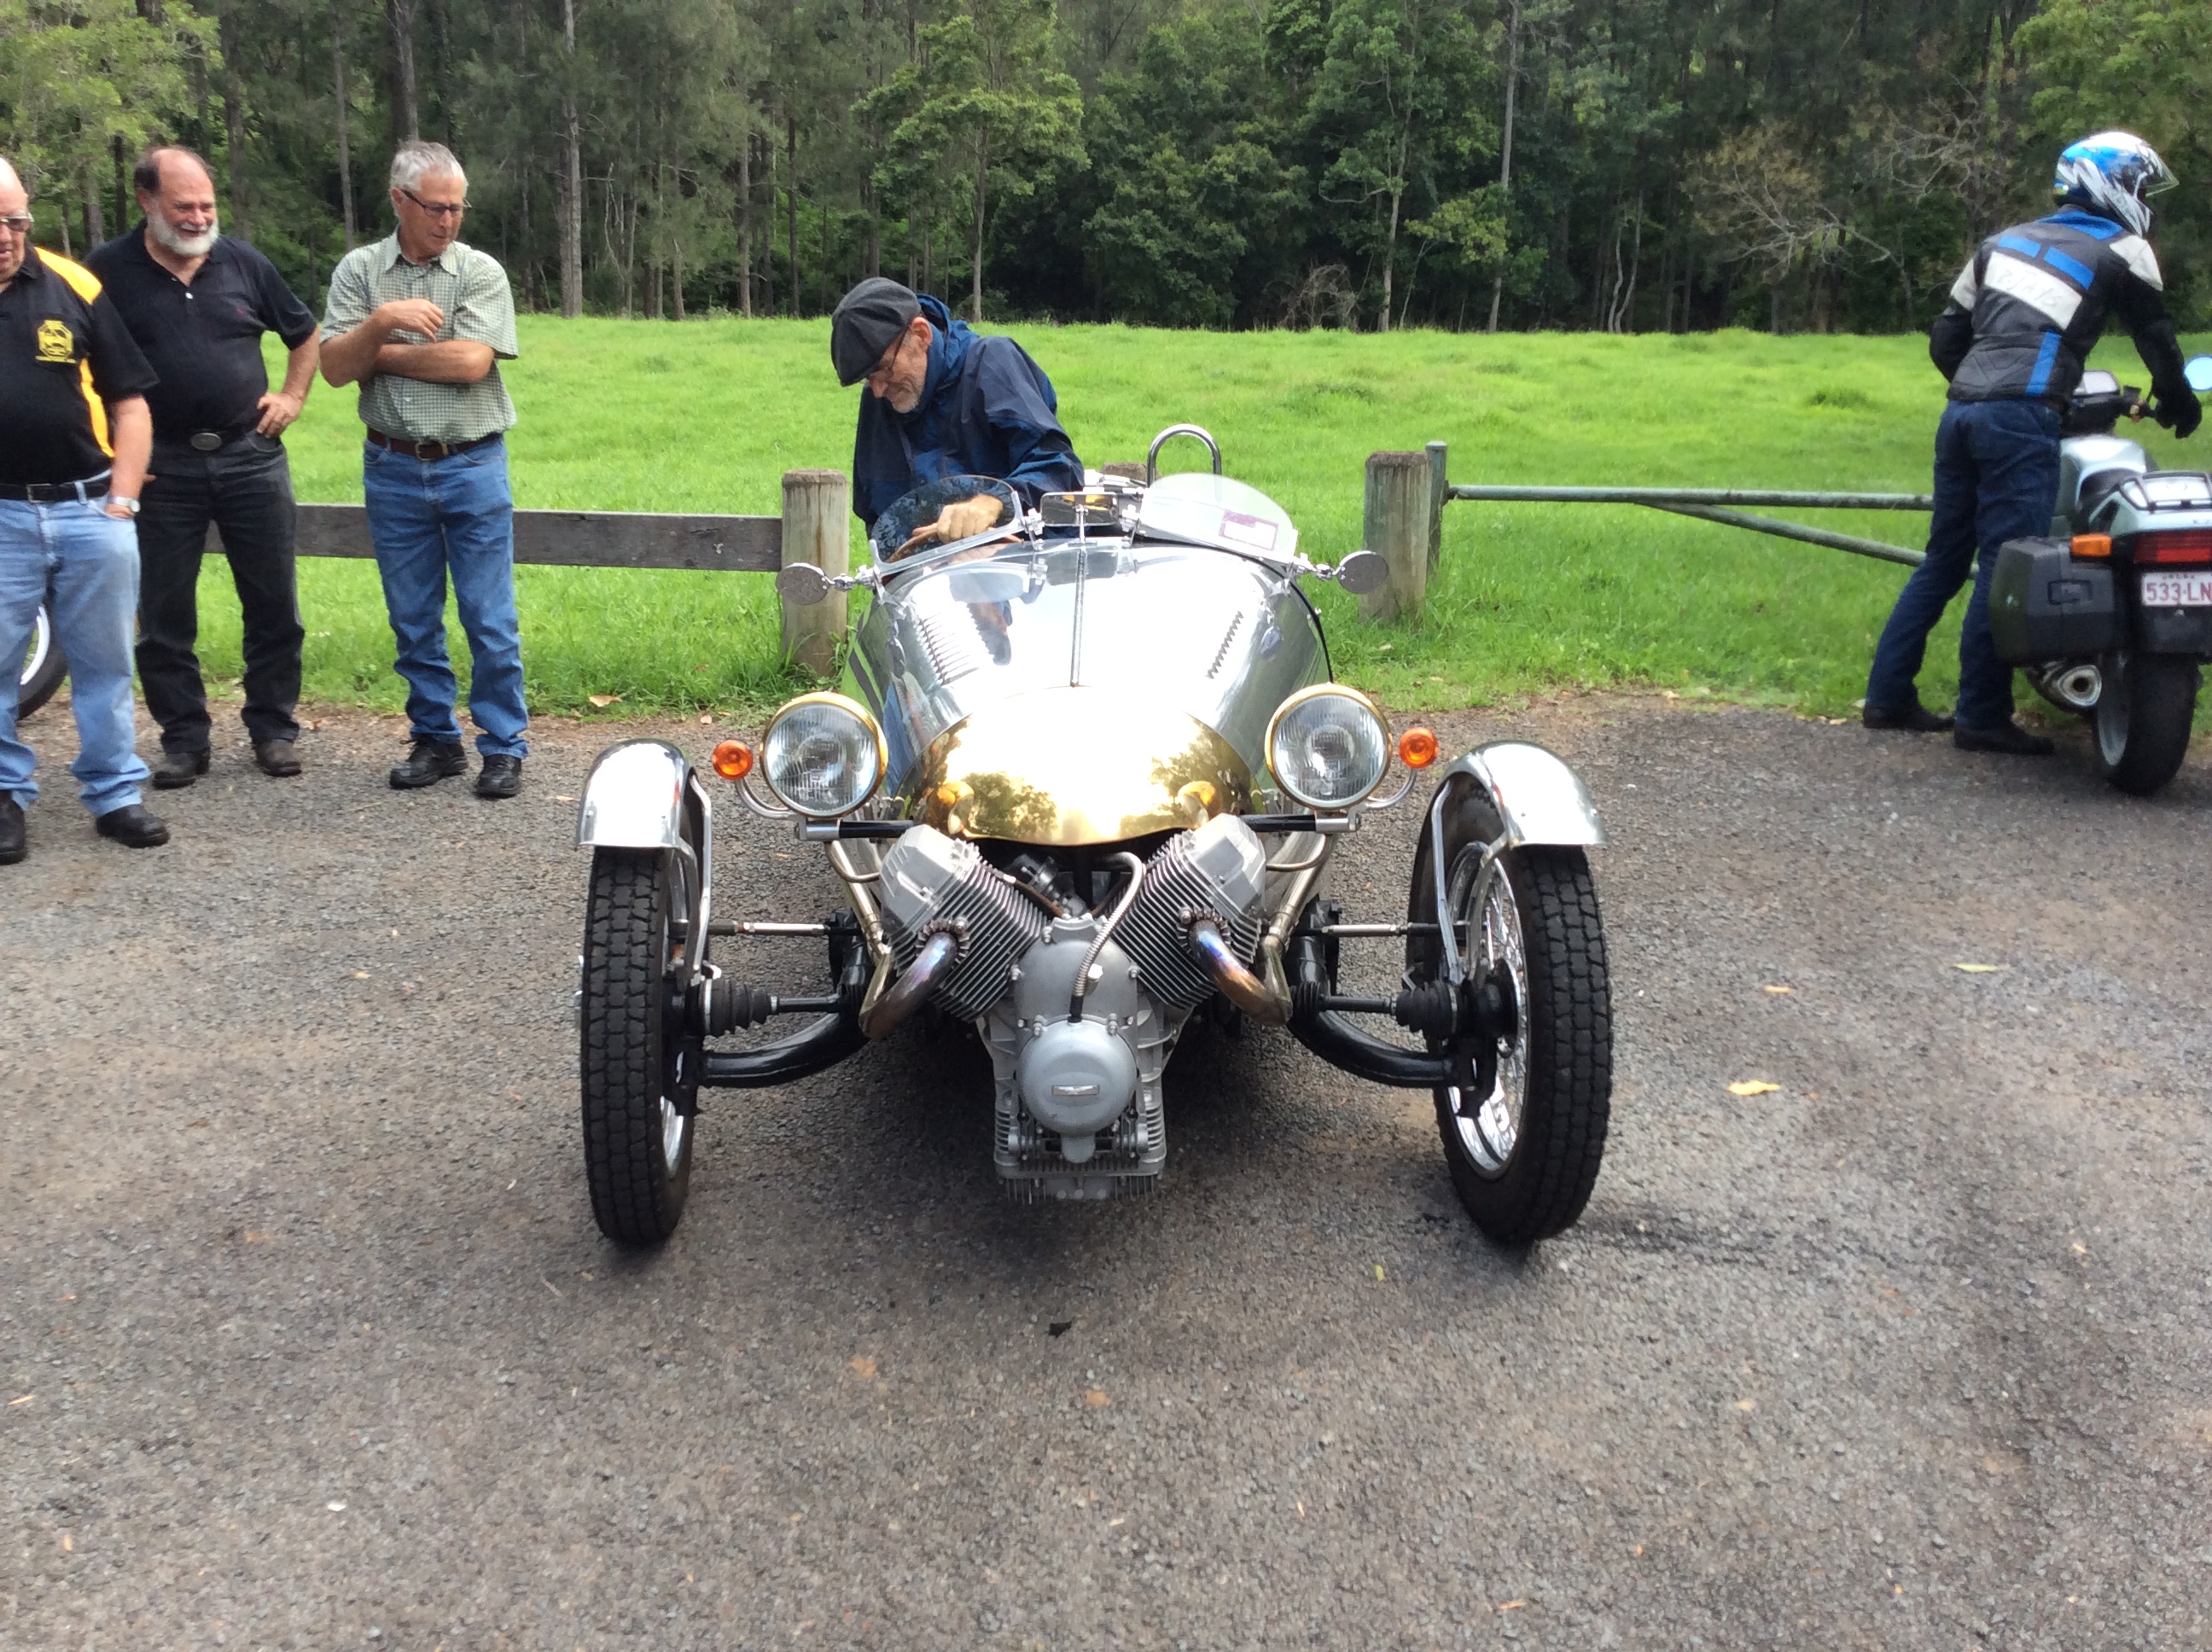
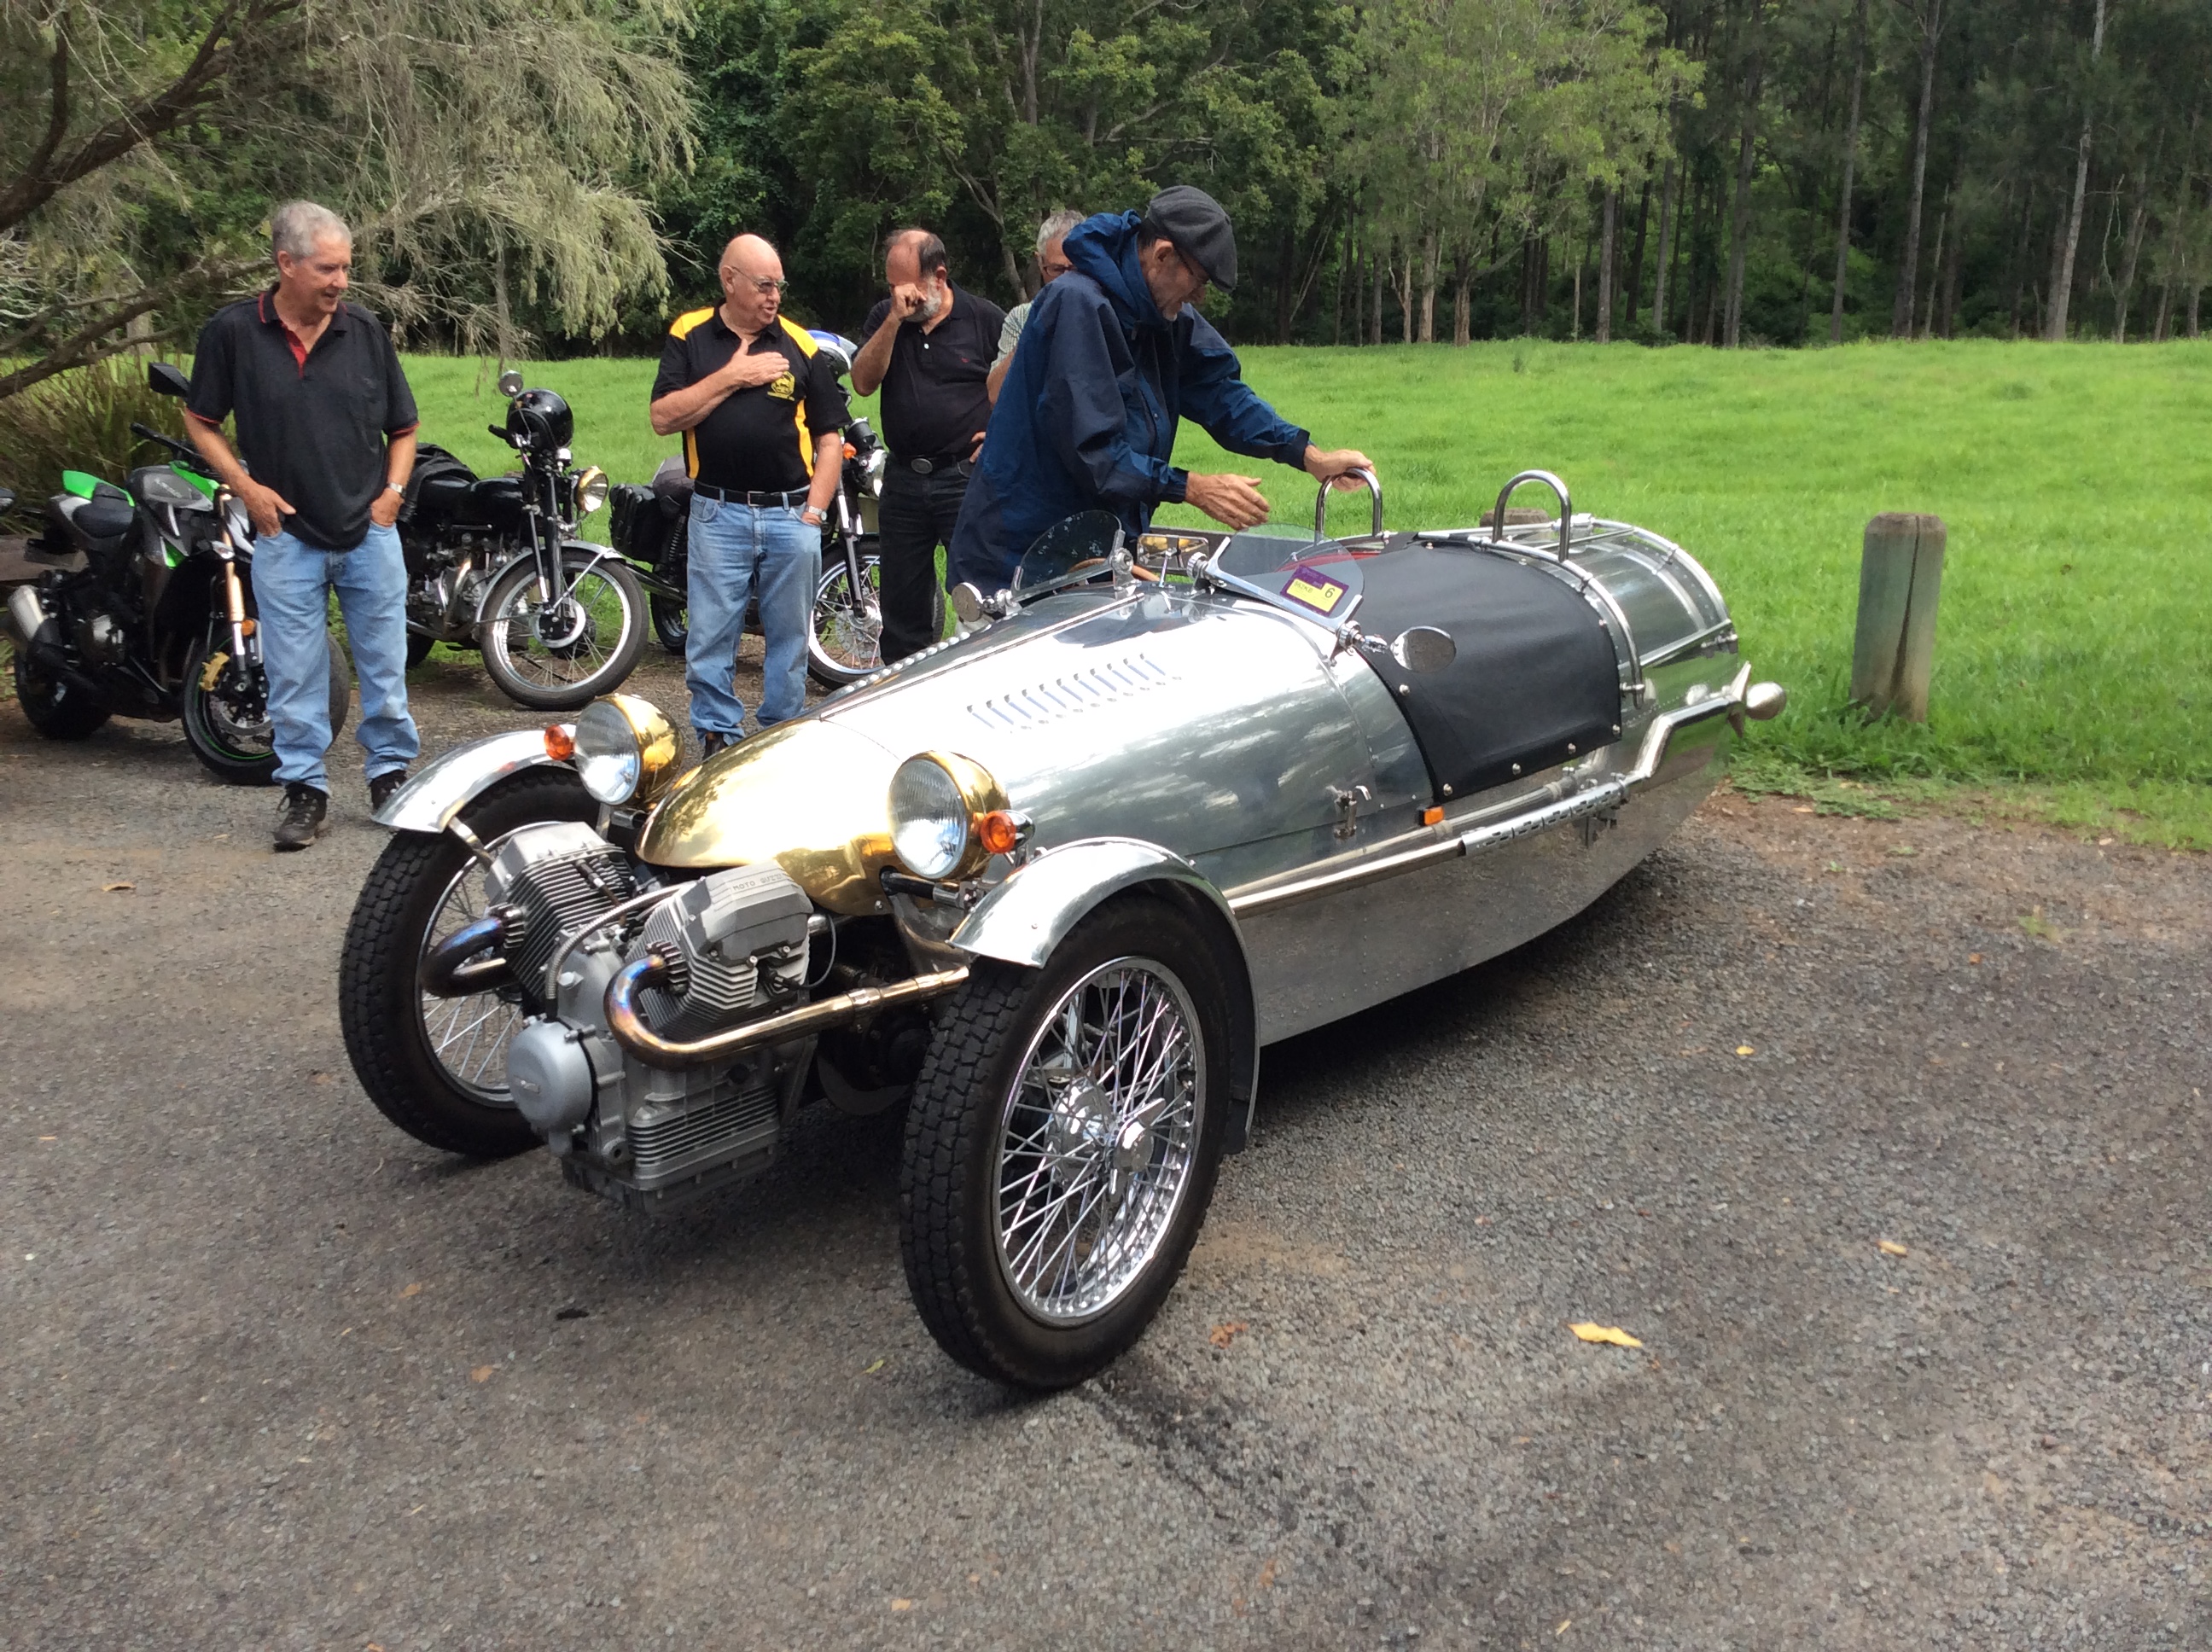
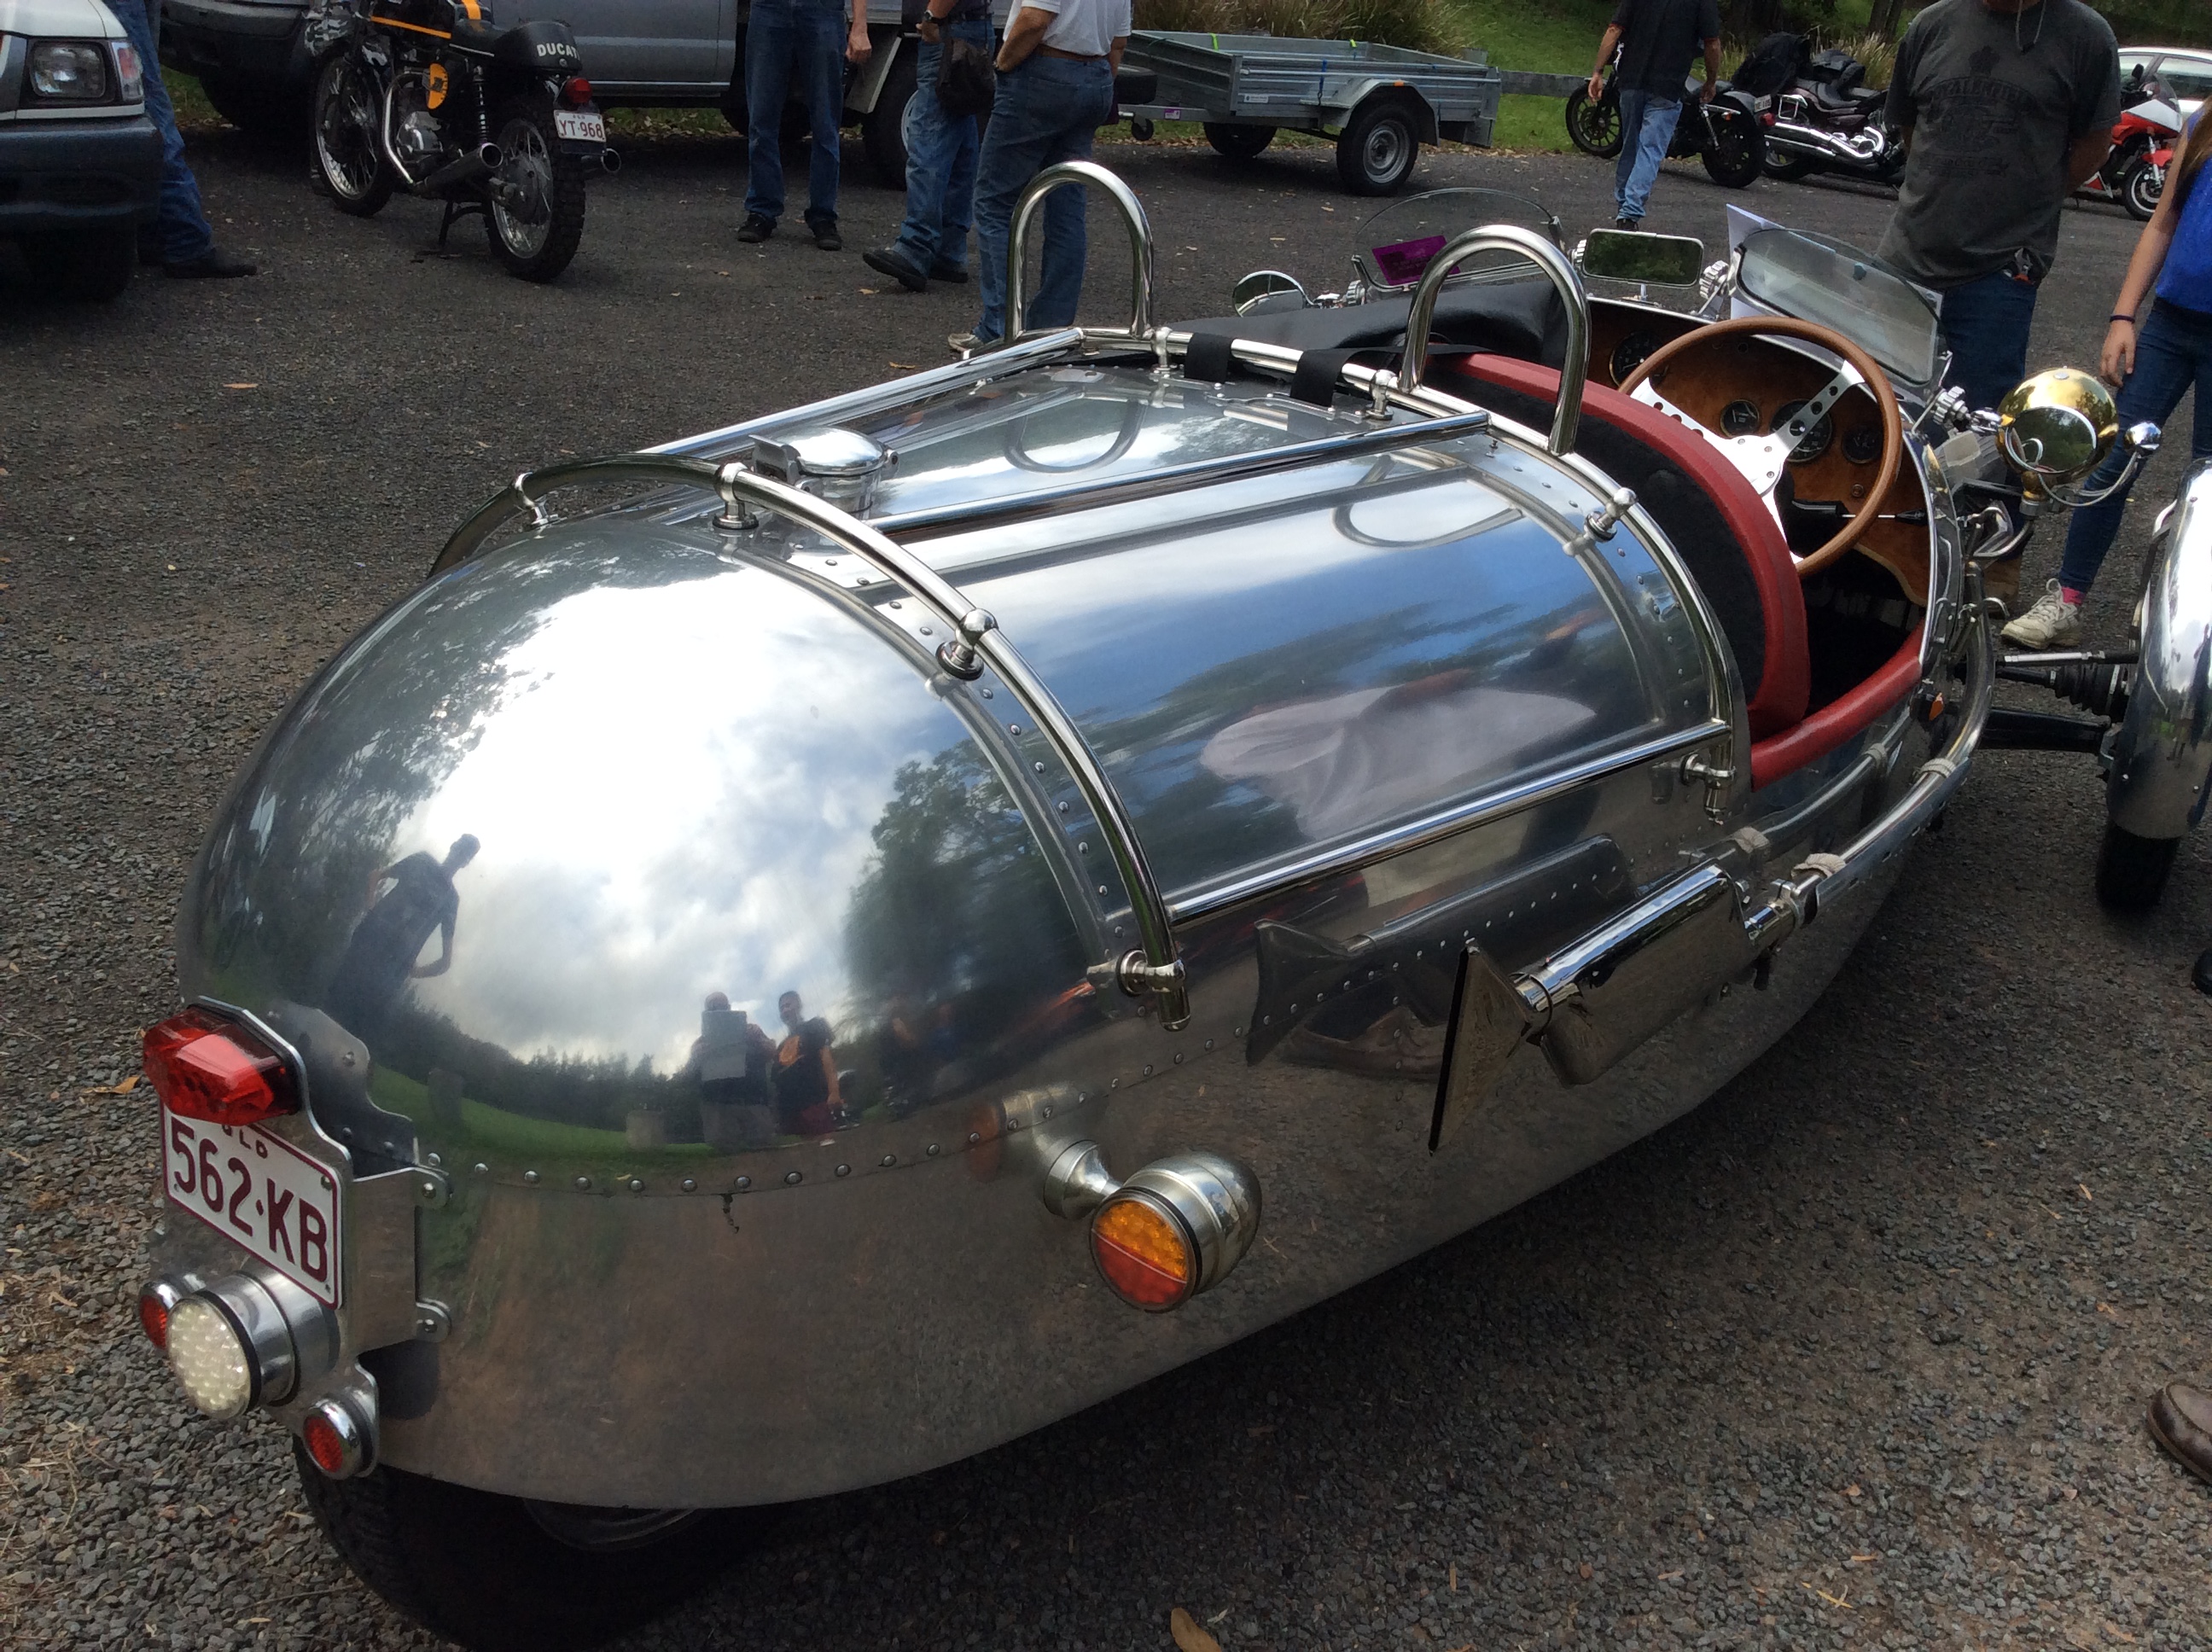
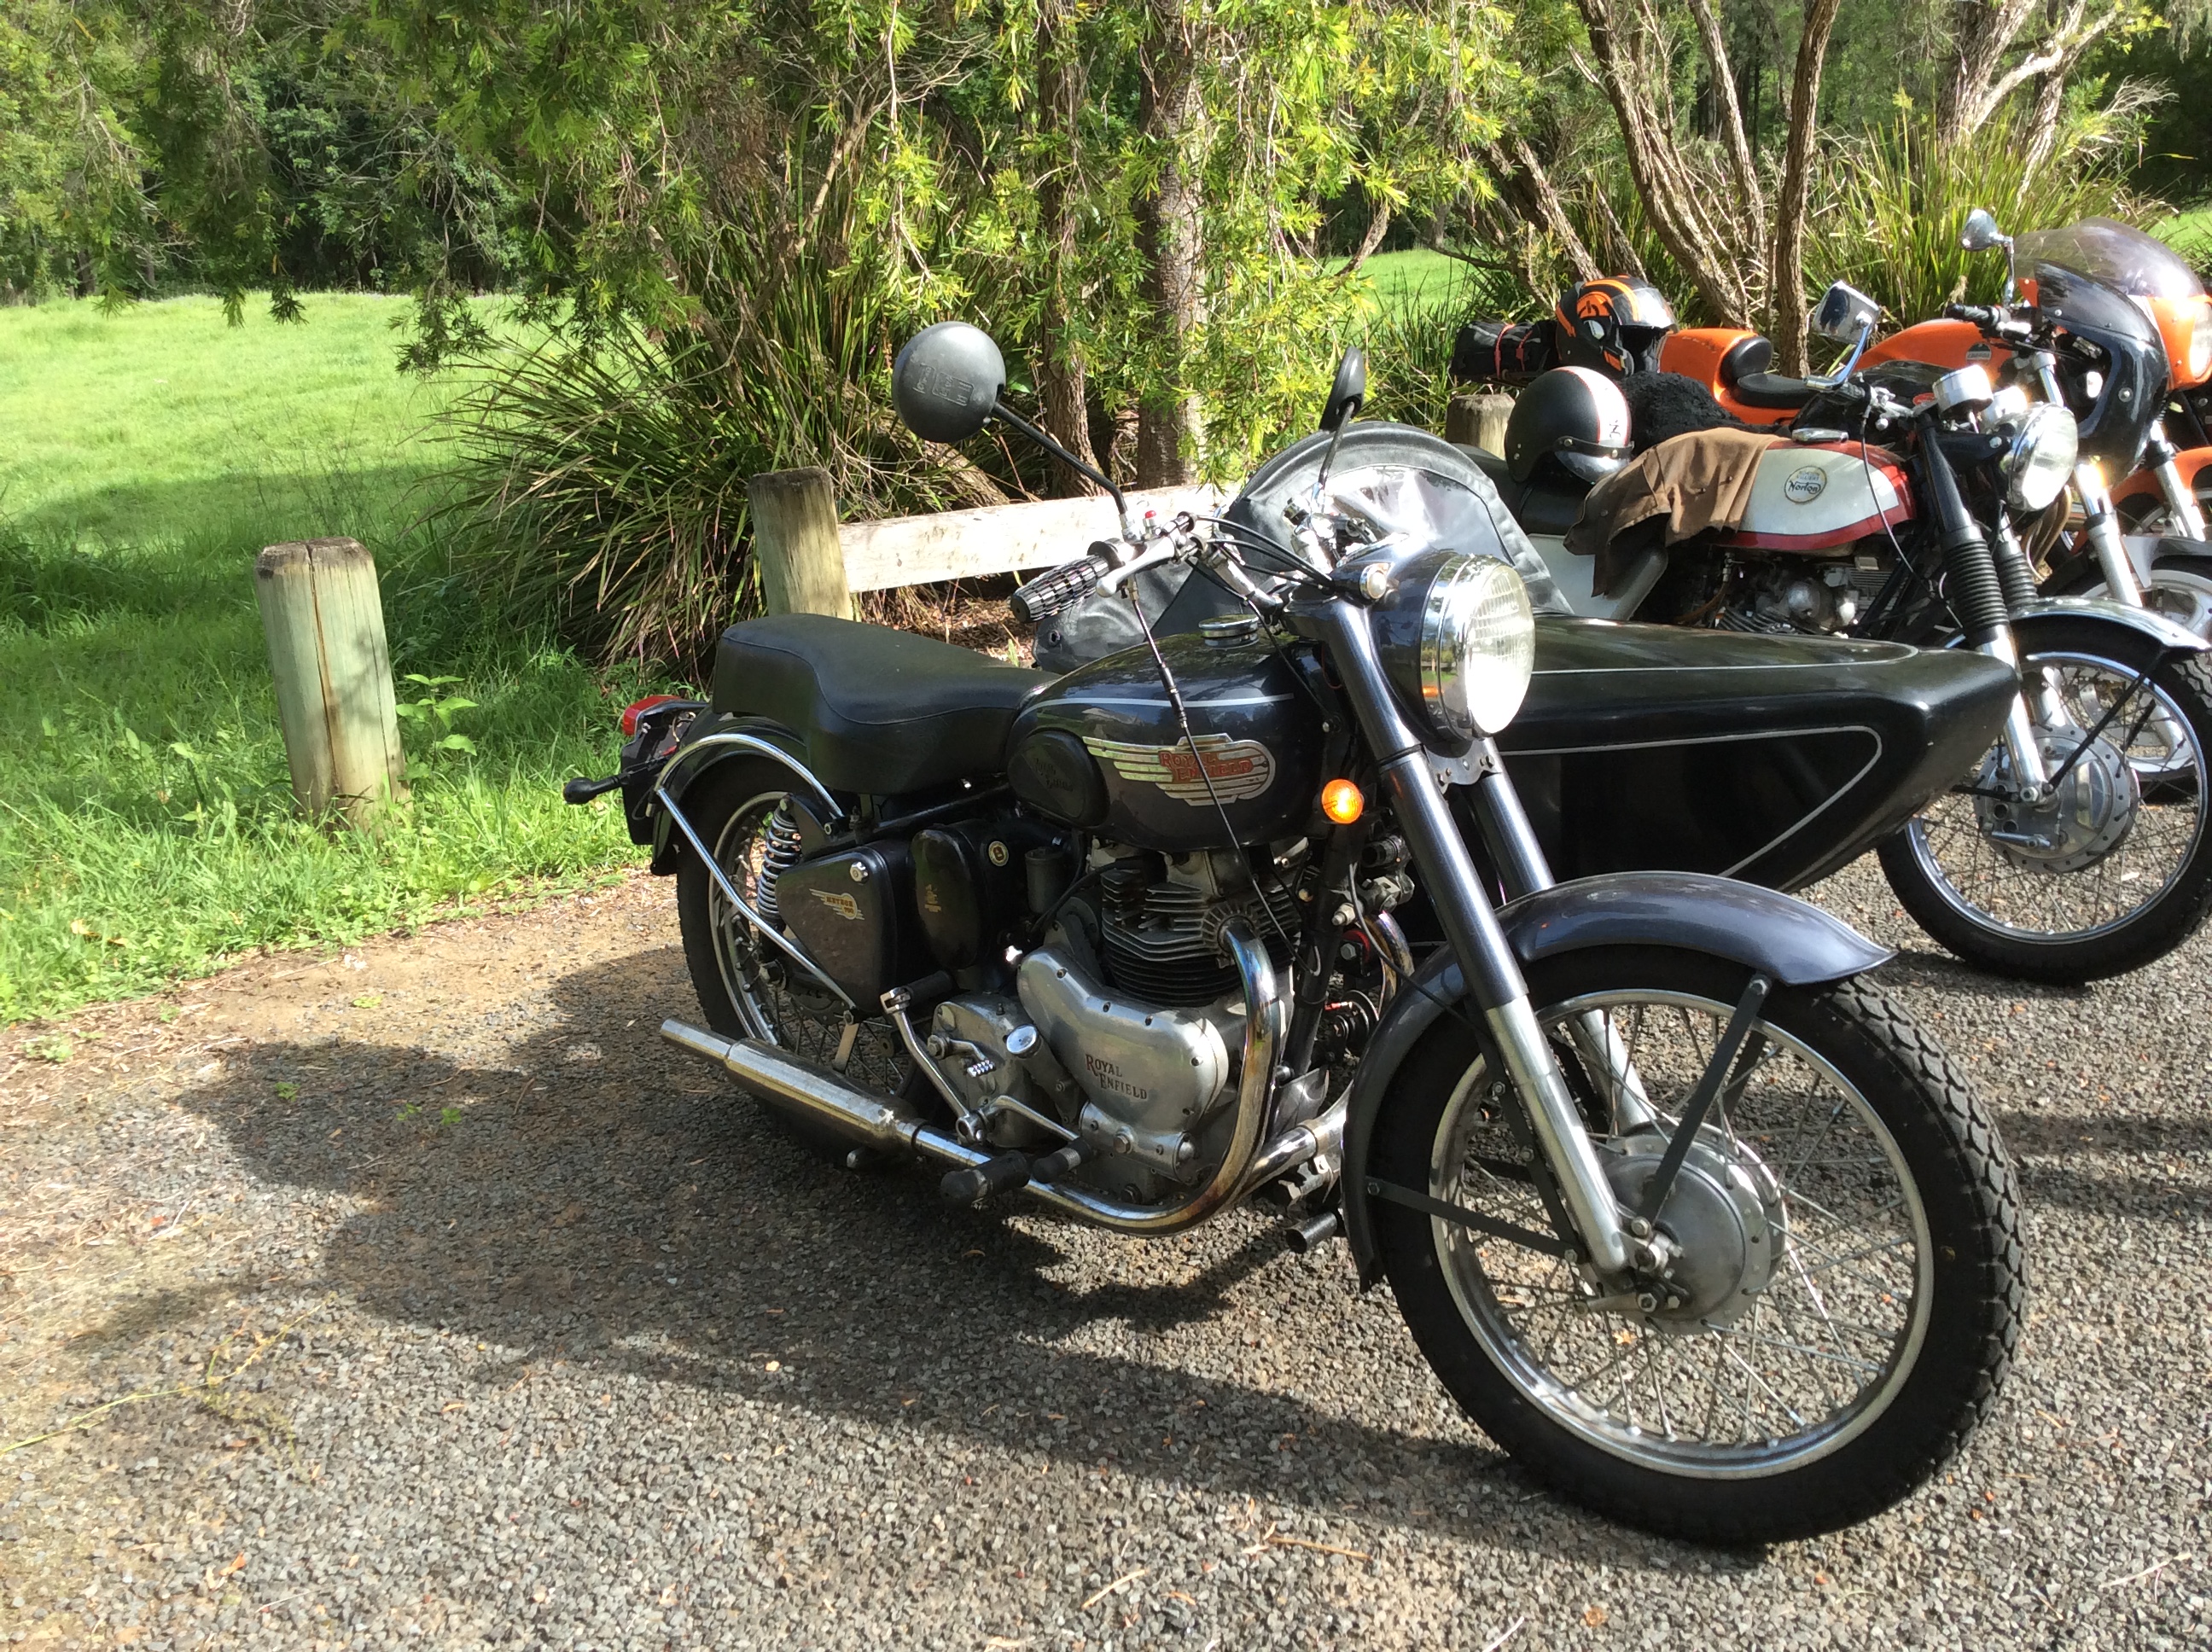
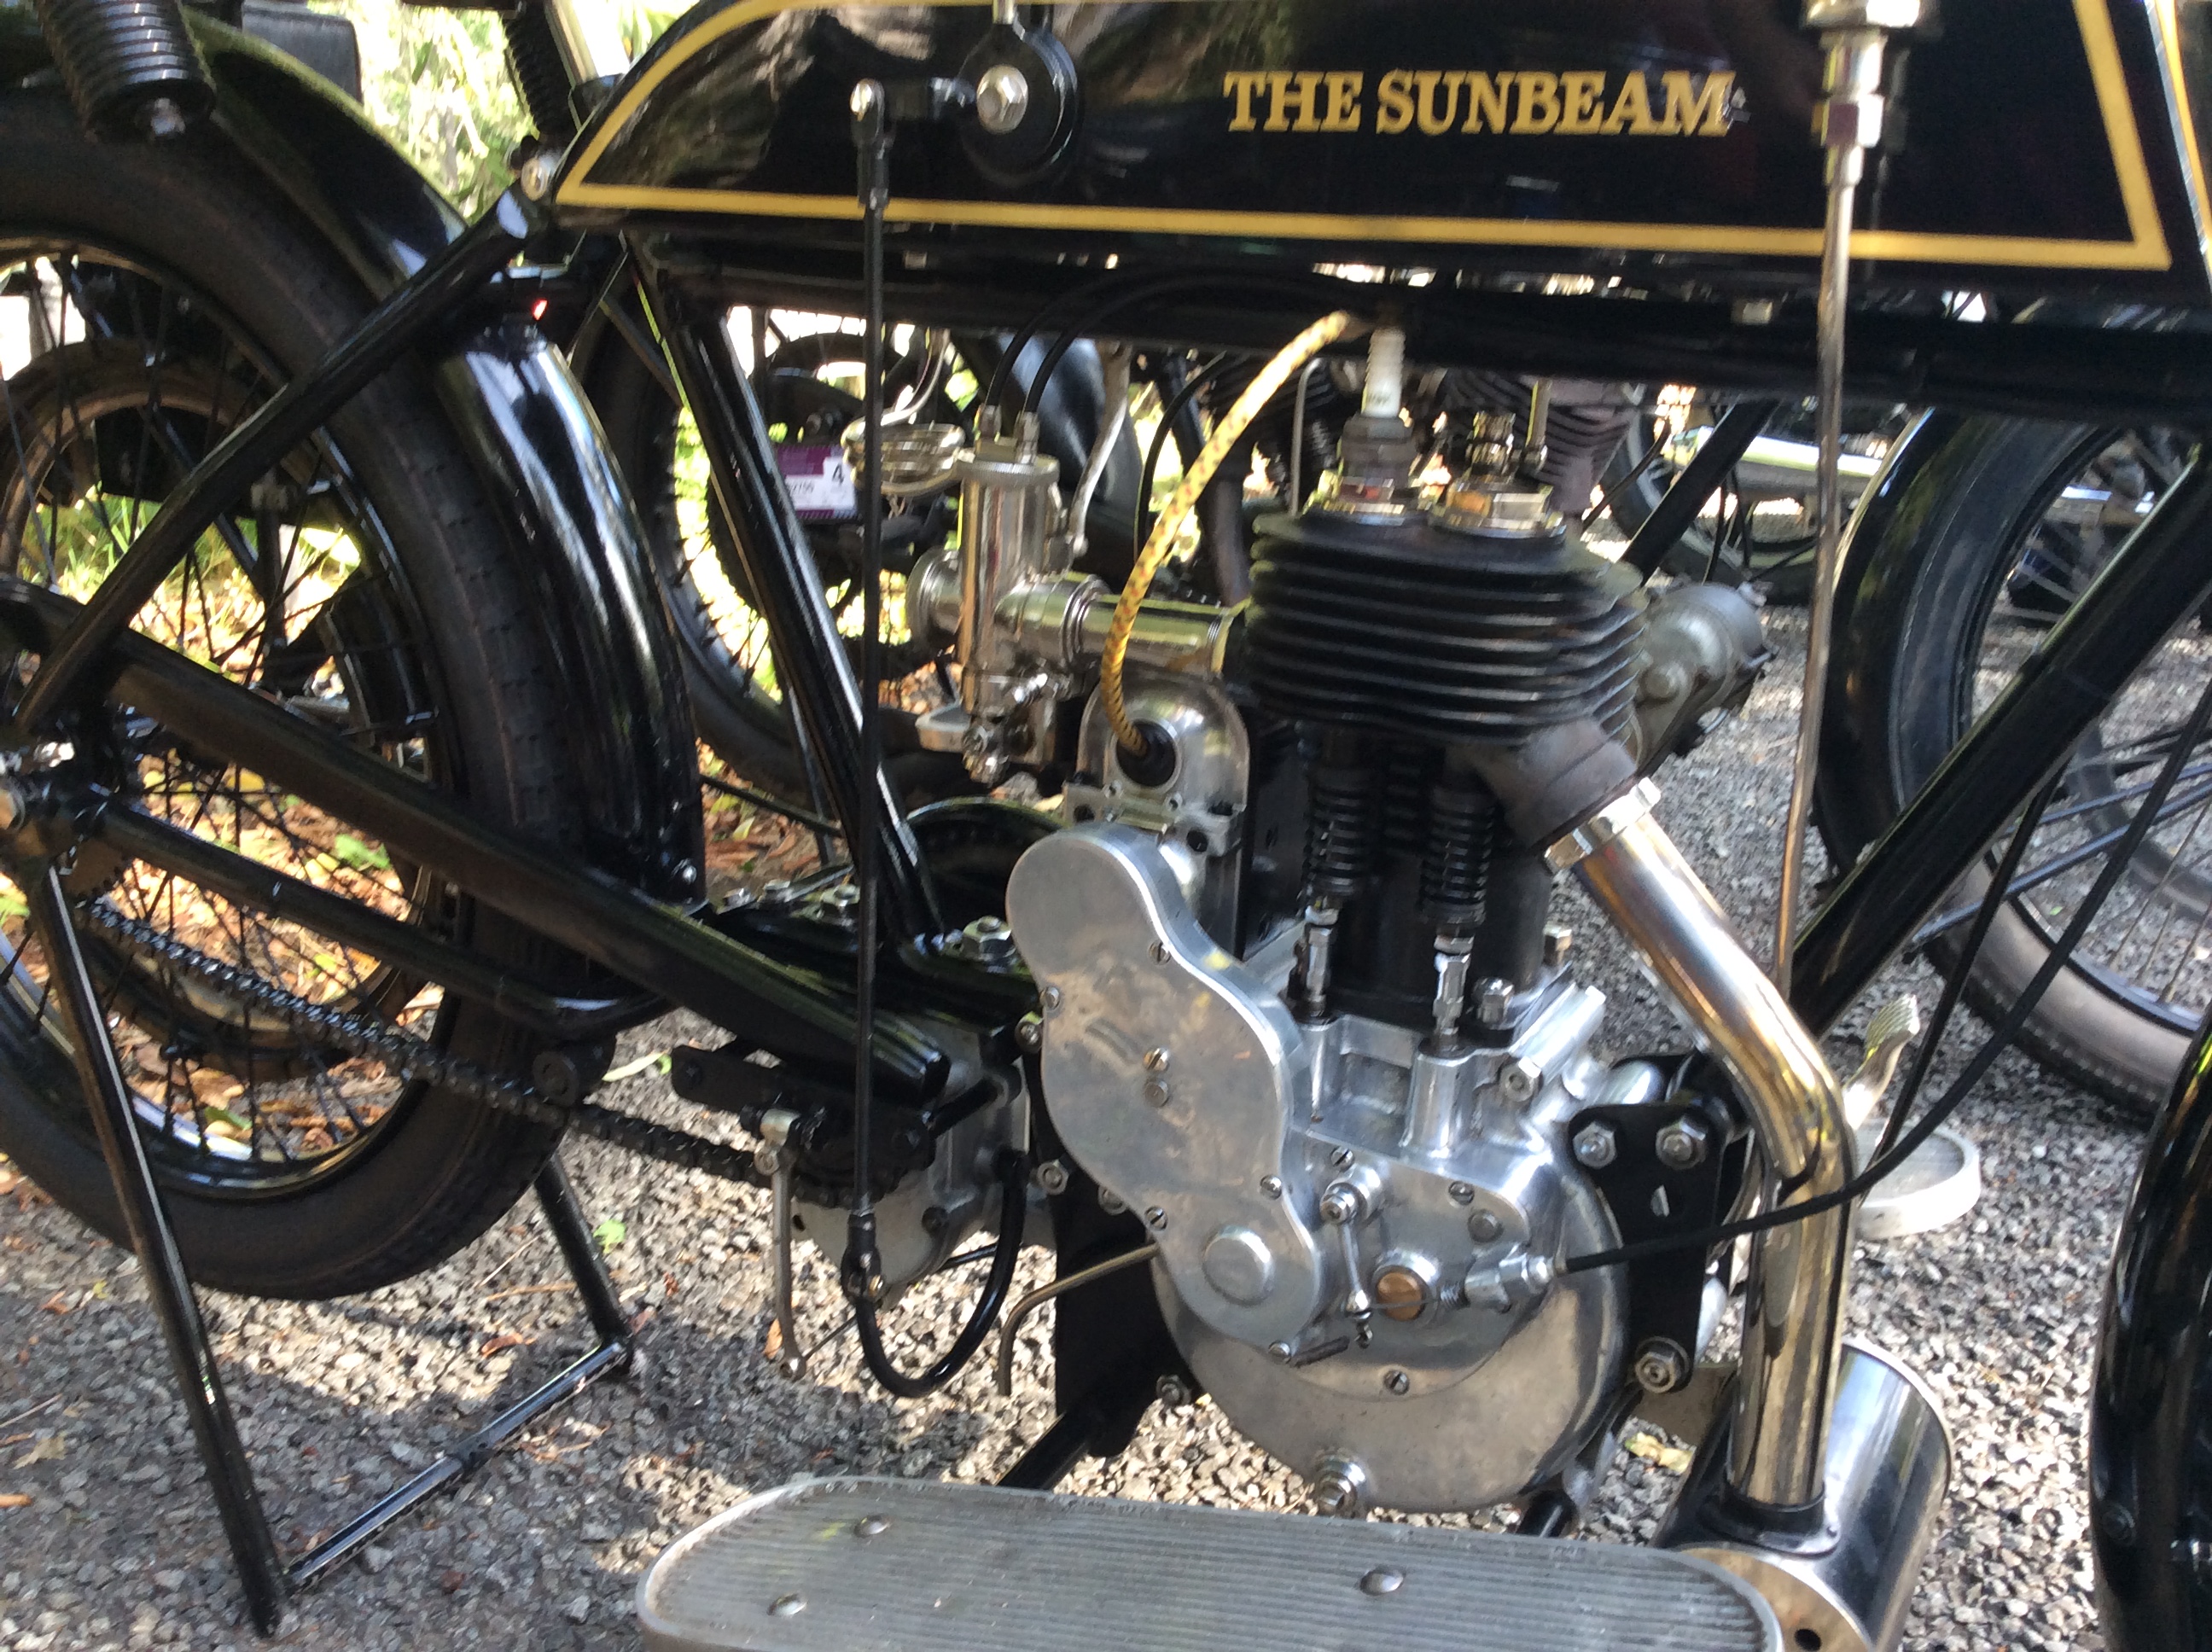
I took dozens more photos than these, but these shall be sufficient for now!

Installing a New Alternator and Electronic Ignition Kit

In my first post of this month, 15th January, I mentioned that I had recently installed a new alternator and electronic ignition kit to my bike.

Today I look more closely at how we accomplished that task.

I wrote and first published this article for the Toolbox on the Chang Jiang Unlimited web site.

I decided to “Get a Little Help From My Friends” (to quote a Beatles tune we used to sing along with a few decades ago) and rode my bike around to Brian Harmsworth’s place a few kilometres from my home.There we removed all the old components and fitted the new kit and took enough photos to write up and publish a pretty good “how to do it” manual.

  • We first removed the negative earth wire from the battery terminal.
  • We drained and removed the fuel tank.
  • We removed the front crankcase cover.
  • We removed all wires from the alternator.
  • We removed the rotor bolt which fastens the rotor to the front of the crankshaft

    In this photo we see the allen-headed rotor bolt almost fully removed from the front of the crankshaft and the alternator.
    In this photo we see the allen-headed rotor bolt almost fully removed from the front of the crankshaft and the alternator.
  • We removed the old stator unit.

    Here we see the old stator being lifted off while the rotor remains in place on the front of the crankshaft.
    Here we see the old stator being lifted off while the rotor remains in place on the front of the crankshaft.
  • We removed the old rotor leaving the front of the motor looking kind of empty.

    Here the complete original alternator has been removed from the front of the crankcase.
    Here the complete original alternator has been removed from the front of the crankcase.
  • We fitted the new stator unit

    We fitted the new stator unit with the sender unit in about a two-o’clock position.
  • We ensured that the pistons were at TDC (Top Dead Centre)

    We removed the spark plugs and used the kick starter to turn the engine until the “0” Zero mark on the flywheel was clearly visible through the peephole near the left carby, thus ensuring that the engine was exactly at TDC (Top Dead Centre).
  • We fitted the new rotor and lined up the timing marks.

    We fitted the new rotor and carefully lined up the painted marks on the rotor and sender so that the ignition timing would be perfect and then tightened up the bolt which fastens the rotor to the crankshaft. There are a lot of steps here which are fully explained in the manual I wrote.
  • We removed the air cleaner and the plastic electrical box.

    We next removed the air cleaner and the plastic housing around the various electrical bits.
  • This photo shows the original electrical components:

    Here we see the starter solenoid (relay), the voltage regulator and the rectifier (diode board).
  • We removed the unwanted electrical parts:

    We removed all attached cables and then removed the voltage regulator and the rectifier. The old wiring loom parts were discarded.
  • We fitted the new rectifier in place of the old voltage regulator:

    We fitted the new rectifier using the screws from the old voltage regulator.
  • We made a metal tab to mount the new ignition unit in place of the old rectifier:

    While we could easily have fitted the new ignition unit to the components board using plastic cable ties, we decided to make a tab to fit the back of the unit and we pop-riveted the tab to the board.
  • Everything in place ready to wire up.

    We pushed the rubber mounting at the back of the new electronic ignition unit onto our new tab and now everything is ready to wire up.
  •  On the new wiring loom sections we connected the two-pin connector between the stator and the electronic ignition and the three-pin connector between the stator and the rectifier.

  • The red wire from the electronic ignition unit is fastened to the positive terminal of the coil in addition to the wire that is already on that terminal.

  • The yellow wire from the electronic ignition unit is fastened to the negative terminal of the coil in place of the old wire from the points (distributor).

  • The red wire from the rectifier is connected to the left upper terminal of the starter solenoid which is where the positive wire from the battery is also connected.

  • The blue-white wire from the rectifier is connected to the wire in the old wiring loom which goes up to the charging indicator light in the headlight shell.

  • The black plastic housing is fitted over the electrical components and the battery is reconnected.

  • After checking that the engine could run we tidied up the wiring:

    After running the engine for a few seconds using the fuel remaining in the carbies just to check that all is okay, it is time to tidy up the wiring using black plastic insulation tape and cable ties and making loops to take up the slack where the new wiring looms are too long.
  • The tank was fitted and filled and the bike was taken for a test ride.

During the test ride a long steep hill which used to always see the bike chugging slowly in first gear was breezed over easily in third and on a short stretch of highway where the bike was normally cruised at 70 km/h I was amazed to see that it was effortlessly cruising at 85 km/h, so the new computer is able to work magic with the ignition timing.

A couple of weeks after fitting the new system, the bike’s engine failed during a mountainous rally ride. It turned out that, because it had been driven consistently much faster than it had ever been ridden before, the petrol tap had vibrated around to a partly closed position which leaned the mixture which overheated the engine causing the petrol in the carbies to boil. Not immediately realising what the problem was, we trailered the bike home (first time ever on a trailer in ten years of riding!) where it had cooled enough to start instantly on the very first kick.

Every time I ride the bike now, I notice how much more power it has with the computer ignition system.

And my constantly-used old battery charger is now just a dust-gatherer!

The kit which I fitted was supplied by Sidecar Pro located in Beijing, China.

I used this experience to write a manual for use by other owners of Chang Jiang motorbikes who may wish to purchase similar kits:

Sidecar Pro Manual for Replacement Electronic Ignition System


Specifications of a Chang Jiang M1M

Whenever I park my bike almost anywhere in public places, people come up to me and start asking me many questions about it.

In yesterday’s post, I answered some of those questions, such as “What is it?”, “How did you come to get it?” and so on.

Motorcyclists in particular, often ask me questions like “What capacity is the engine?”, “How fast can it go?”, “How heavy is it?”, and so on.

Today I am re-publishing the full specifications for the bike.

In the table, which was first published last year in Bikers for Christ Newslwtter, (original) indicates specifications for the M1 model, (modified) indicates specifications for the M1M model which are different to those of the M1 model.

As I have made further modifications since the original restoration to M1M specs which was completed during 2004-2005, some of these figures will no longer be correct, but I have no way to measure the differences.

Specifications.

Engine Type: Air-cooled, Side-Valve, Four-stroke, Boxer-twin (Horizontally opposed twin)
Head Type:  Flathead
Cubic Capacity: 746cc
Bore: 78mm
Stroke: 78mm
Compression Ratio (original):  5.7:1
Compression Ratio (modified):  6.2:1
Horsepower (original):  22 bhp
Horsepower (modified): 24 bhp
Fuel: Petrol, Regular, 87 octane
RPM (original): 4200
RPM (modified): 4800
Carburettors (original): 24 mm
Carburettors (modified): 28 mm
Electrics (original): 6V 45W generator
Electrics (modified): 12V 60W alternator and rectifier
Spark Plugs: Torch 4114, Bosch W4AC
Starting System (original): transverse kick starter
Starting System (modified): electric starter plus kick
Engine Oil: 25W60
Engine Oil Capacity: 2.0 litres
Fuel Tank Capacity: 24 litres
Transmission Oil Capacity: 0.800 litres
Final Drive Oil Capacity: 0.175 litres
Fuel Consumption: 8 litres / 100 km
Maximum Speed: ~90 km/h
Recommended Cruising Speed: 70-75 km/h
Clutch Type: Two-plate Dry
Gearbox Type (original): Four forward gears
Gearbox Type (modified): Four forward plus one reverse gears
Drive Method: Kardan shaft and bevel gears
Tyre Size: 26.5 x 3.75 (equiv to 3.75 x 19)
Battery (original): 6V +ve ground
Battery (modified): 12V 28 Ah -ve ground
Dry Weight: 360 Kg
Payload: Three adults plus 100 Kg
Length: 2400mm (8ft 4in)
Width: 1500mm (5ft 2in)
Height: 1041mm (3ft 5in) (without mirrors)
Track: 1168mm (3ft 10in)
Wheelbase: 1420mm (5ft)
Suspension Front: Telescopic Forks
Suspension Rear: Plunger Frame
Suspension Sidecar:  Torsion Bar and Leaf Springs

©  Phil Smith 2014

The image below, taken by me in Beijing about ten years ago in January 2005, shows my bike under re-construction in the factory of Long River Motorworks.  The engine and gearbox have never again looked so shiny during the ten years since then.

The Story of My Bike

What is it?

Basically it is a 1938 designed BMW R71 which was assembled in China in 1962 for the People’s Liberation Army where it was called a Chang Jiang M1.  During its restoration in 2004 it was upgraded to M1M specifications (6V → 12V, reverse gear added, higher compression ratio, better lights and wiring, etc.)

Since I have owned it I have replaced its wheels with Chang Jiang M5 wheels to improve the braking.

In November 2014, I also fitted a new electronic ignition kit consisting of rotor, stator, computerised ignition timing unit, solid state rectifier and voltage regulation unit, and all the necessary wires and fittings to install it and set it up. I wrote a manual for anyone else who might want to purchase a similar kit from SidecarPro.

How did I get it?

1964: I picked up a copy of El Popola Cinio, a Chinese magazine published in Esperanto language, because I saw a motorbike and sidecar on the front cover.  I read the article about the Chang Jiang sidecar bikes being used by the People’s Liberation Army.  That night I dreamed that I owned one (my current bike at that time was a 1951 BSA C10 250cc side-valve single solo bike).  The dream wouldn’t go away.  Perhaps it was a vision from God?

1967: I discussed this dream (which still hadn’t gone away) with my fellow members of the Ballarat Rovers Motor Cycle Club while we were standing in the Stunt Team shed surrounded by the tools of the trade (stunt riding accessories) while sheltering from the rain.  The general consensus was that I was absolutely crazy to even think of getting such a bike (too slow for modern roads, impossible to import or register, impossible to get parts, etc., etc.)  So, I tried to get rid of that vision.

1968-1989: At times the vision kept coming back to me: I’d consider it a little each time and then put it right back in the “Too Hard” basket.

1989: While living in Hong Kong, my wife Wendy and I went for a weekend trip to Guang Zhou (Canton) in mainland China.  This was immediately after the Tiananmen Square incident and there were hundreds of well-armed soldiers everywhere we went.  Our train was stopped by the military and soldiers with machine-guns searched our carriages.  While this was going on I was amazed to see “in the metal” the exact bike I had been dreaming about for a quarter of a century – and there were dozens of them circling around our train.
The next day there were military personnel everywhere and a sidecar carrying a general stopped only 15 feet from where I was standing.  I talked to him for about 20 minutes about his motorbike. I specifically asked whether it would be possible to buy a used one when the army had finished with it and ship it to Australia.  He told me there was no way the government would ever, in our lifetimes allow the export of one of those machines.  Oh come on Lord, why do you keep giving me a vision that is impossible!

2003: I was eating fish and chips in a park near Sai Kung in Hong Kong, when I heard what I knew to be the sound of a CJ.  I heard it stop not far away and I ran and found it parked in front of a pub. While I gave it a very thorough inspection, the owner came out to talk to me.  He had bought the bike from a vendor in Beijing.  So it was now possible to export these bikes from mainland China. Praise The Lord!

2004: Early in 2004, every time I knelt down to pray I was seeing videos in my brain of me riding a CJ sidecar outfit. As it was invading my daily prayer time I approached my pastor to discuss the problem. His response was: “I reckon God wants you to buy that motorbike.”

I still had my doubts, since Wendy was basically not in favour of me owning any motorbike (“Think of the children!”).

During the annual holiday of the Senior Pastor of our church, Pastor Jackie Pullinger from Hang Fook came as our visiting minister.  After two of her sermons, members of her visiting ministry team, who had never met me before, singled me out and asked me to stand up in front of the church as God had given them visions for me. On both occasions the visions described exactly the surroundings of that meeting in 1967 when I had discussed owning a CJ sidecar one day.  I had never described that meeting to anyone in my life, but these Chinese guys described in perfect precision two different items, tools of my trade (Stunt Rider), that were hanging in that shed that day.  I was blown away!  God really was telling me to get going and purchase that bike!  But what would Wendy think?

I rang Wendy, who was then in Brisbane, and started reminding her that for many years I had been talking about getting a Chinese motorbike. She said, “You should buy a motorbike providing it has a sidecar on it!”  Praise the Lord!

To cut a long story short, I ordered my bike from Long River Motorworks in Beijing.

It was almost forty years to the day since I had first got the vision.

2005: In January, I went to Beijing to look at my partly restored bike. It was very incomplete at that stage but it was beautiful to see it, touch it, feel it! I also observed many other partly restored bikes in the same factory.

By about mid-year the bike was ready so I asked Gerald to ride it to and from work for a week or two to give it a shake-down and make any setting up adjustments.

The shipping was sorted out and it arrived in Brisbane in September 2005 while I was working in Hong Kong.

I came home to Brisbane and registered it in November 2005.

The bike I like to refer to as “God’s bike” was finally on the road!

2005-2014: God’s Bike has been to church most Sundays. It has also attended a number of rallies, concours events and, of course, the annual Sidecar Circus conducted by the HMCCQ.

When people ask me why I bought such an unusual bike, I usually start my answer by saying, “God gave me a vision to get it …”

Many don’t want to know about God at all, some want to hear more about my bike, a few, a very few, end up asking me more about my God.

©  Phil Smith 2014

First Trailer Day in Ten Years – The Ignominy!

In November, I fitted a new electronic ignition system to my motorbike.

A side effect of the conversion means that the bike has a lot more power, more acceleration, and can go faster than it ever went during the previous ten years.

Going faster means higher revs. … On 14th December I went tearing up Campbell’s Pocket Road from Wamuran to the Mount Mee Road flat out in third and occasionally second gears, never having to drop back to first as I did for much of that climb on the same Rally the previous year. I even overtook two other sidecars and some solo bikes on the way up the hill! Turned left onto Mount Mee Road and was easily hitting 85 to 90 km/h on the straight sections between corners. Suddenly the motor just died and I coasted to a standstill.

“Bugger!” (I said to myself) “That bloody rotor has come loose on the front of the crankshaft and I have lost my timing!”

I was wrong.

Several other rally riders stopped and the back-up trailer arrived. We all tried to start it: we proved the spark was strong and bright on both plugs; it obviously had plenty of compression, therefore no valve or piston problems; I filled the tank with petrol from the drum in the sidecar, so we all knew she wasn’t out of juice. The consensus of all was that she was getting a great spark, but at the wrong time, so the ignition timing must be out. And as we couldn’t hold everyone up by continuing to try starting it, for the first time in ten years of regular riding, my bike came home on a trailer! How ignominious!

At home I whipped off the front crankcase cover and the timing peephole at the flywheel, and amazingly, the timing was perfect, the rotor was as tight as a fish’s anus (that’s watertight) on the crankshaft, and there appeared to be nothing wrong! I put the front cover back on.

I turned on the fuel, pressed each tickler three times, kicked it slowly over both cylinders (exactly as I would any day for a cold start), turned on the ignition, set the throttle at 3 mm past the little scratch mark, and gave it a gentle kick. It fired up first kick as it always does! I went for a test ride of about 5 km around our suburb and it never missed a beat!

So what was wrong with it on the side of Mount Mee Road?

On analysing what we had done at the roadside, I remembered two things that were different: when I had first pulled up, the fuel tap was about half-way around from fully open to fully closed in a position where it should have had enough juice but would have been running a little lean; when we tickled the carbies, the fuel was “hissing” as it entered the float bowls.

On looking back, and thinking logically about it, the higher than usual revs going up Campbell’s Pocket Road had caused excessive vibration which, in turn, had caused the fuel tap to begin closing, so that the mixture had become lean. Lean mixture means hotter running, so the motor had become very hot. Heat from the motor had overheated the carbies. The petrol in the carbies had boiled dry, so the motor had just given up the ghost. It was all so simple when I stopped to think rationally about it.

If I had just told all the other riders to head off to the lunch stop and I would get there in half an hour anyway, I could have avoided the ignominy of having my bike trailered home for the first time ever!

Unfortunately, although I had my iPad in the sidecar, I took no photos that day.

My bike is a 1962 Chang Jiang M1M 750cc side-valve boxer twin with a heavyweight military sidecar.

number_plate1