This was written in answer to a query on Facebook from a specific rider, so sometimes there are references made to one specific outfit. Later I shall edit to make this article more generic.
Having the sidecar body itself level or not is purely a matter of aesthetics and does not affect the handling of the outfit. However, having said that, it does tend to “look better” if the chair can be level with the road both ways: side-to-side and fore-and-aft.
There are three adjustable measurements that can affect handling:
1. Sidecar wheel “lead”;
2. Toe-in;
3. “Lean-out” of bike away from sidecar.

*1. Sidecar wheel “lead”;*
This is usually set up when the bike is first attached to the sidecar and is usually not adjusted later. Anything from 0 cm to 50 cm can be made to work, but where both sidecar and bike have suspension as opposed to rigid frame, 15 cm to 25 cm is about the best range.
On your particular chair, a Mark 1 DJP, erring on the side of a longer lead is to be preferred to make the rig more stable in right hand turns. But if this is not easily altered, do not lose any sleep over it.
*2. Toe-in;*
This is the most easily altered and the most critical measurement of all on a sidecar outfit.
Do NOT make the mistake of laying your straight-edge so that it touches both front and rear tyres: if your tyres are not of identical cross-section, as on any modern bike, this will give you a FALSE reading of your toe-in.
Even if your tyres do have the same cross section, as in pre-WW2 bikes, if the front wheel is not perfectly aligned with the rear, you will again have a FALSE reading of your toe-in.
For a chain-drive bike the first step is to correctly adjust the chain and align the rear wheel for best chain performance before measuring toe-in. On a shaft-drive, this is not important. However, whether the front and rear tyres are lined up or not will not affect sidecar handling but will affect correct measurement of toe-in.
The toe-in is measured in relation to the alignment of the rear tyre and the sidecar tyre with NO reference to the front tyre.
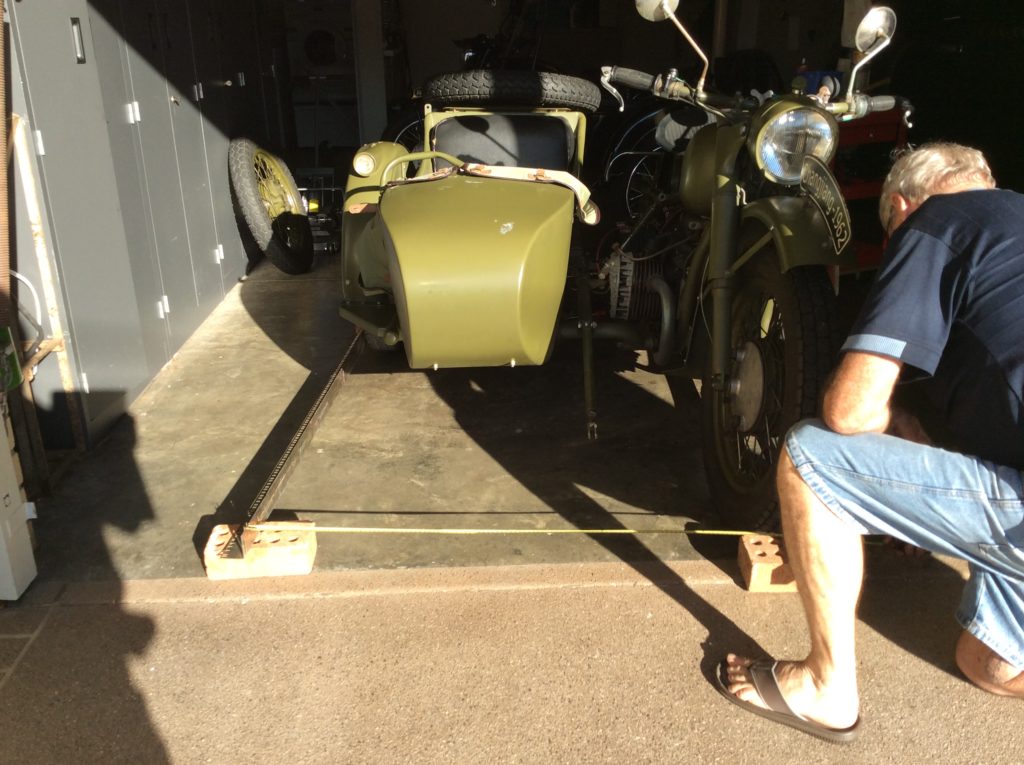
A straight-edge, laser, or string line must be set up exactly parallel to the rim of the rear tyre, either by touching it or by being offset a precise distance from front and rear of the rear tyre by carefully-measured blocks or similar. Check to see that the straight-edge or string-line is not being fouled by mufflers, gearbox, front wheel, or any other part of the bike. Also check that the straight-edge or string-line is as high as possible beside the rear tyre without fouling anything on the underside of the bike. It can usually be raised by using house bricks or blocks in front of the front tyre and behind the rear tyre.
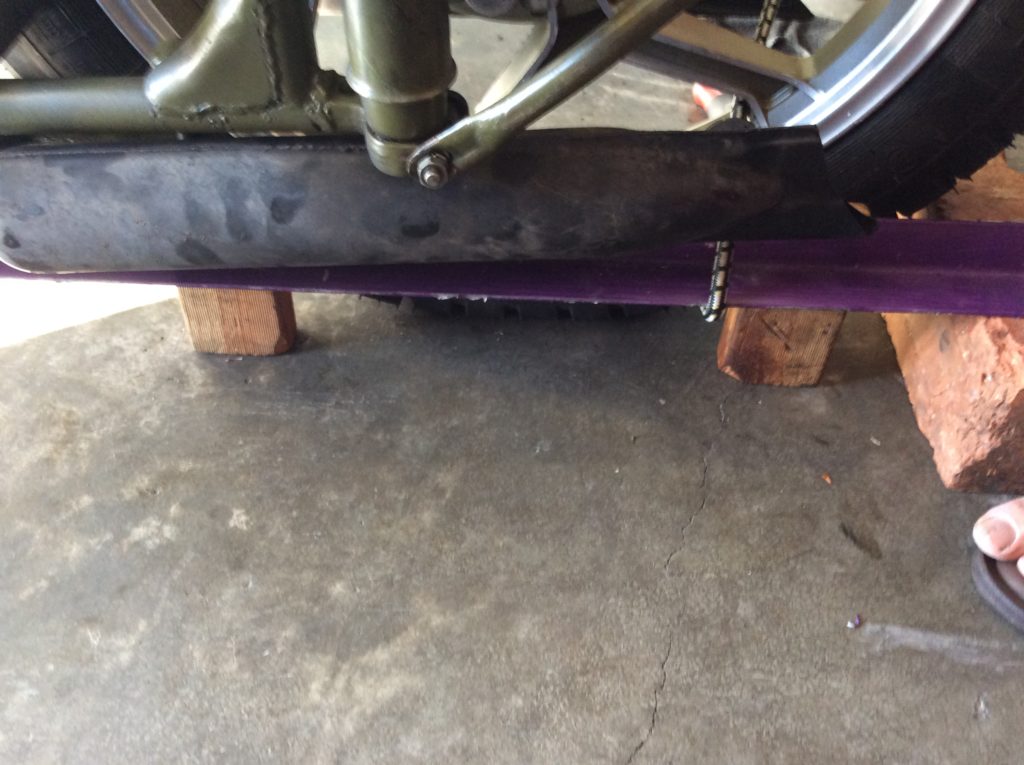
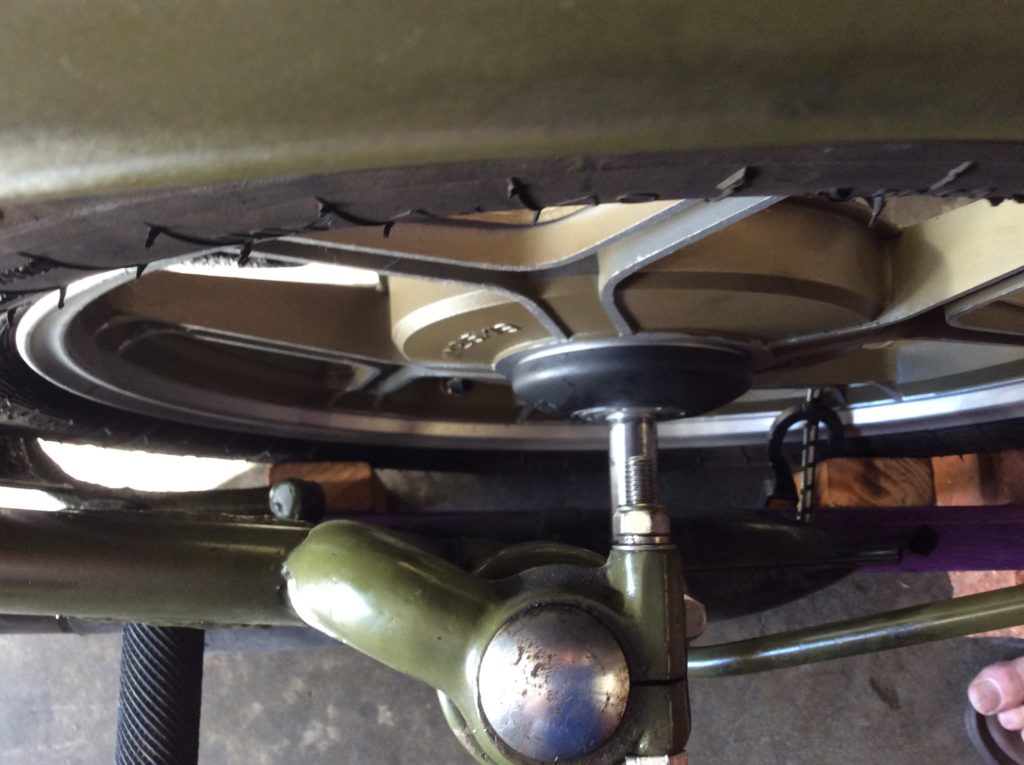
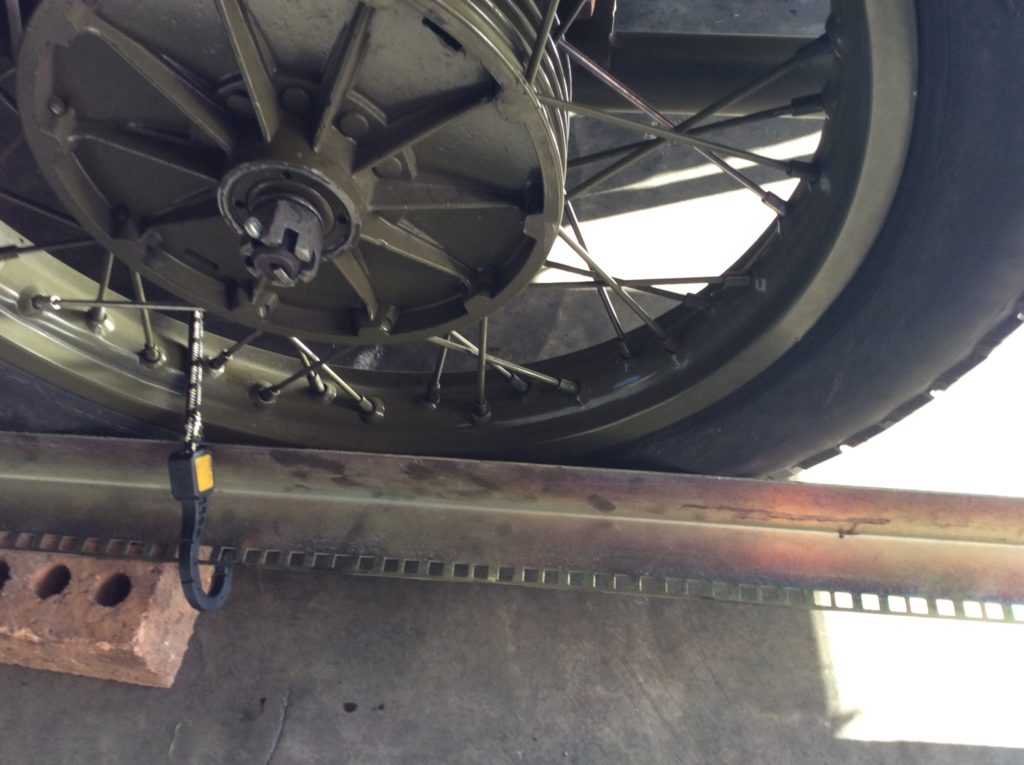
The other straight-edge or string-line is similarly set up as high as possible on the sidecar tyre without fouling mudguard, hub cap or whatever, and again it can be raised using house bricks or blocks under each end of the straight-edge.
Having gotten the straight-edges set up, the two measurements are made immediately ahead of the front of the front tyre and immediately behind the rear of the rear tyre. The measurement at the front must be less than the measurement at the rear.
The measurement behind the rear wheel is made in similar fashion.
I like to set my toe-in to exactly 10 mm, if at all possible. The usually accepted range for toe-in is usually given as 9 to 30 mm. However, be aware that if it is any more than about 18 or 20 mm, then you will begin to have more rapid wear on the rear tyre.
Note that although my sidecar is on the right of the bike, the exact same process is followed when the sidecar is on the left of the bike.
Now, how to adjust the toe-in?
On a DJP or similarly mounted sidecar, you must first completely disconnect the two upper mountings.
Then adjust the two lower mountings until the toe-in is correct. To decrease toe-in, screw the front lower mounting out away from the bike and/or the rear lower mounting in towards the bike. To increase the toe-in, screw the front lower mounting in towards the bike and/or the rear lower mounting out away from the bike.
After each adjustment you make, again check your straight-edges or string-lines are in correct contact with the two tyres we are dealing with and then measure the toe-in again.
*3. “Lean-out” of bike away from sidecar.*
After getting the toe-in correct, it is necessary to check the lean-out of the bike.
I have set up so many sidecars in the past forty-nine years that I always do this part “by eye” without taking any measurements, but the correct lean-out for a modern bike and sidecar is between 1° and 3° vertically away from the bike *with the weight of the rider applied to the rider’s saddle*.
Lean-in towards the chair will make the steering very heavy and the outfit will pull to the left. Bike vertical will still pull left and steering will still be heavy, but not as bad as with lean-in.
Consider whether you will mainly be on highways with almost level camber or country back roads with steep camber when deciding how much lean-out to give your bike: less (1°) for motorways and more (3°) for highly cambered roads.
However, bear in mind that the greater the angle of lean-out, the more the outfit will pull to the right when on the opposite camber (e.g. When overtaking on the “wrong” side of a country road).
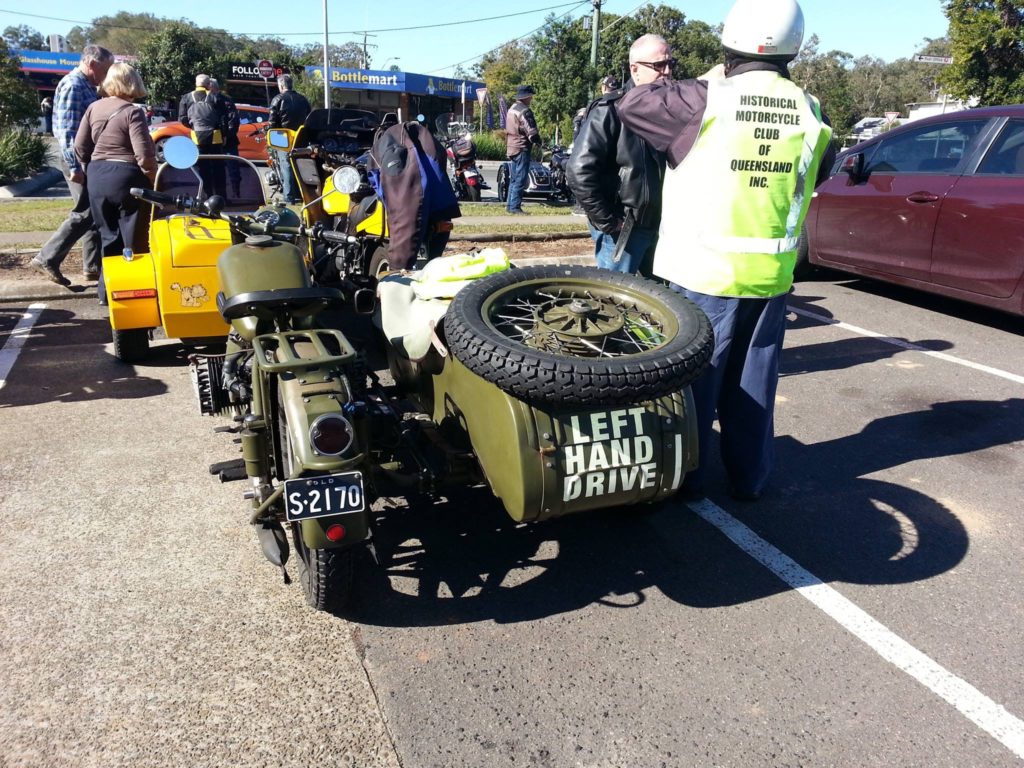
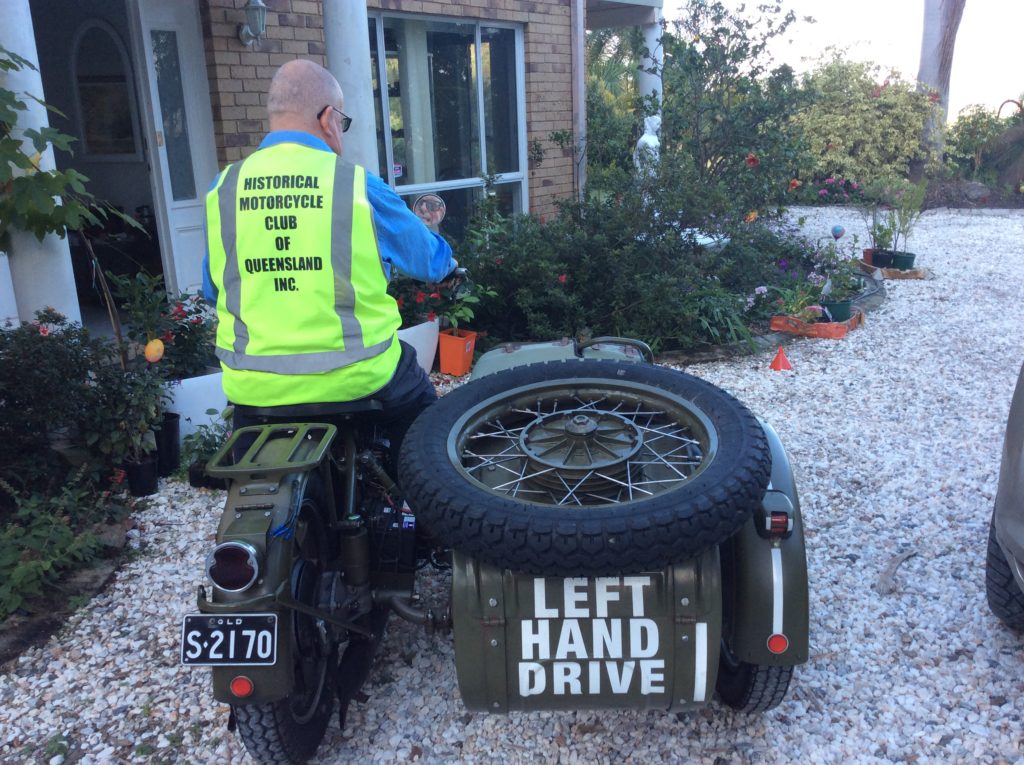
My own personal preference is more lean-out rather than less, even though my own sidecar is on the “wrong” (right) side making my outfit a “left hand drive” vehicle. Using a plumb-line and protractor, I have just measured my lean-out at 3°.
The more lean-out you have, the more alarming it will feel while you are getting used to that setting.
Now, how do you adjust lean-out?
Having disconnected the upper mountings to adjust the toe-in, we now fasten them back on screwing the adjusters in or out as necessary until the mountings can be bolted up with no stress and the lean-out is correct.
Note that I find this to be about the “sweet spot” for the lean-out, even though I ride almost always on roads with negative camber. Around Queensland my bike is near the kerb while my sidecar wheel is up near to the centre of the road so it is higher than the bike.
*Steering matters*:
I have ridden more outfits with standard solo forks fitted than I have with sidecar-specific forks such as leading-arm, Earles, so-called “leading-link”, or rake-modified forks. The steering is heavier and makes your arm, shoulder and chest muscles stronger! Better than going to the gym!
The steering can be made lighter by buying wider handlebars, by raising the handlebars an inch or three higher, or by both. Handlebars and risers are less expensive than replacement forks!
Rake-modification by modifying the original triple clamps or buying modified triple clamps is also less expensive than replacement forks but can give a beautiful “power steering” like feel to the outfit.
Fitting replacement forks is the best and most expensive option as it makes your forks much stronger.
The slight disadvantage of staying with telescopic forks is that, as they were not designed for sidecar use, you need to bear this in mind and be more gentle about your cornering.
Do not be discouraged if all these measurements and adjustments take a long time. The work is worth it!
Sorry for the excessively long reply, but I felt since you are doing this on your own, it is better to include as much detail, as possible.